Searching for a specific blog post? Try here:

Marek's Disease and the Story of Non-Sterilizing Vaccinations

Two types of vaccine treatment

Fifty years ago Marek's caused mild paralysis in some chickens, reducing yields. This problem was solved with a vaccine. Almost all commercial chickens are now vaccinated against Marek's. Unlike the measles vaccine or the original polio vaccine, but like the flu vaccine, the avian influenza vaccine, and the vaccine which is 100 percent safe and effective after two shots, but also requires unlimited boosters, and correlates with decreased naturally immunity across all age groups and with increased danger from post-vaccination infection, and is associated with a larger incidence of extremely debilitating side effects than all other vaccinations combined, such as unexplained myocarditis in previously healthy children, and is now officially safe and effective for children despite more children dying in the vaccinated than in the unvaccinated group in the abbreviated and materially inconclusive (on the record!) efficacy trial, and which occasionally causes otherwise very healthy people with no prior risk of heart disease to drop dead from massive blood clots, which were previously "misinformation" and you were a liar if you said this happened but are now classified as "rare", and which is known to cause increased concentrations of potentially dangerous toxins in the ovaries, and correlates with an increase in miscarriages and a marked decline in fertility, the Marek's vaccine is "leaky".

Non-sterilizing vaccines: what could possibly go wrong?

"Leaky" is highly technical language. It may seem, to those of us who aren’t pharmaceutical company CEOs with profitable Defense Department contracts to inject American soldiers with experimental vaccines which correlate 100 percent with debilitating chronic illness, as if it means "they're lying and this isn't a real vaccine and it doesn't work", but what "leaky" means is highly technical. The Marek's vaccine preserves chickens from the symptoms of the disease (we hope) but doesn't prevent them from becoming infected and contagious. Instead of a sterilizing vaccine which effectively wipes out the disease, the leaky Marek's vaccine resulted in mutated strains of Marek's which are now extremely deadly, perhaps because, in the words of Harvard Medical School graduate Michael Crichton, "life finds a way" -- and the Marek's vaccine doesn't kill the Marek's virus, it just shoves it under the featherbed. This has been known for well over a decade (see, for example, Gimeno 2008 in “Vaccine”, Witter 1998 in “Poultry Science”, Boodhoo et. al. 2016 in “Veterinary Research”)* which is one reason why many previously highly-respected but, now that they disagree with industry-captured government agencies and people with a journalism degree, obviously incompetent, epidemiologists and virologists have been trying to spread the misinformation that widespread use of a leaky vaccine in humans might be a bad idea. We should obviously listen to television news anchors, who can read a teleprompter, and government bureaucrats, who can sometimes, and not to the top scientists in the field, who in speaking out and thus losing very lucrative grants and contracts from the drug companies and government agencies they criticize are clearly just self-interested and don’t understand the science.

You may be wondering if leaky vaccines given to people could result in a potentially dangerous disease mutation as with Marek's in chickens. The answer to that is, of course, absolutely not -- and if it does, rest assured pharmaceutical companies will come up with new vaccines to sell. So there's nothing to be concerned about. This was just a boring history lesson and any comparison to recent events is entirely unintended.

Natural immunity? What’s that?

Of course the alternative to treating a marginally dangerous illness with widespread use of non-sterilizing, “leaky” vaccines which directly cause viral mutations that greatly increase mortality, assuming the leaky vaccines even work, is to focus instead on overall population health of the flock (such as plenty of fresh air, exercise, and a natural diet), offer extra care to those which become ill, and allow the population to develop natural immunity to the virus over time, since natural immunity to even a mild strain is apparently effective against all variants. Officially, this practice doesn’t work, however, as widespread empirical observations to the contrary don’t count as data since they don’t take place in industry-funded labs. If you think that’s clearly wrong, and that to pursue as the only possible solution a schedule of constant vaccinations which are proven to make the disease more dangerous over time is criminally insane and everyone involved in such an obviously corrupt fiasco should be executed by firing squadlocked up, you don’t know what you’re talking about and you should stop spreading misinformation.

Our meat chickens are vaccinated against Marek's. We like our local family-run hatchery, and since they have to vaccinate for the larger commercial growers, they don't have any feasible means of vaccinating only some of the eggs but not others. It's too bad farmers didn't make a better decision about using a known "leaky" vaccine fifty years ago, or about believing the pharmaceutical sales representatives and the government regulators who rubber-stamped their recommendations.

Follow “the science”

In order to be better informed, we should clearly listen to talking heads on TV. Reading actual peer-reviewed published research is foolish. (Most of it is not replicable and a large number of studies are outright lies, but these are unfortunately the best we have, if you want to actually look at the data rather than “following the science”.) Simple, common-sense solutions which don’t require expensive and potentially dangerous chemicals sold by multinational drug companies are obviously not the answer to any of our problems. When deciding which “experts” are most credible, we should always give credence to those who are paid the most by corporate industry, and not to those who sacrifice lucrative paychecks in order to speak out. Speaking out is best done with the tongue thrust sideways into the inside of the cheek.

* Note that the people saying the vaccines are safe and effective NEVER cite actual double-blind controlled empirical large N studies, because there are none that support their claims.

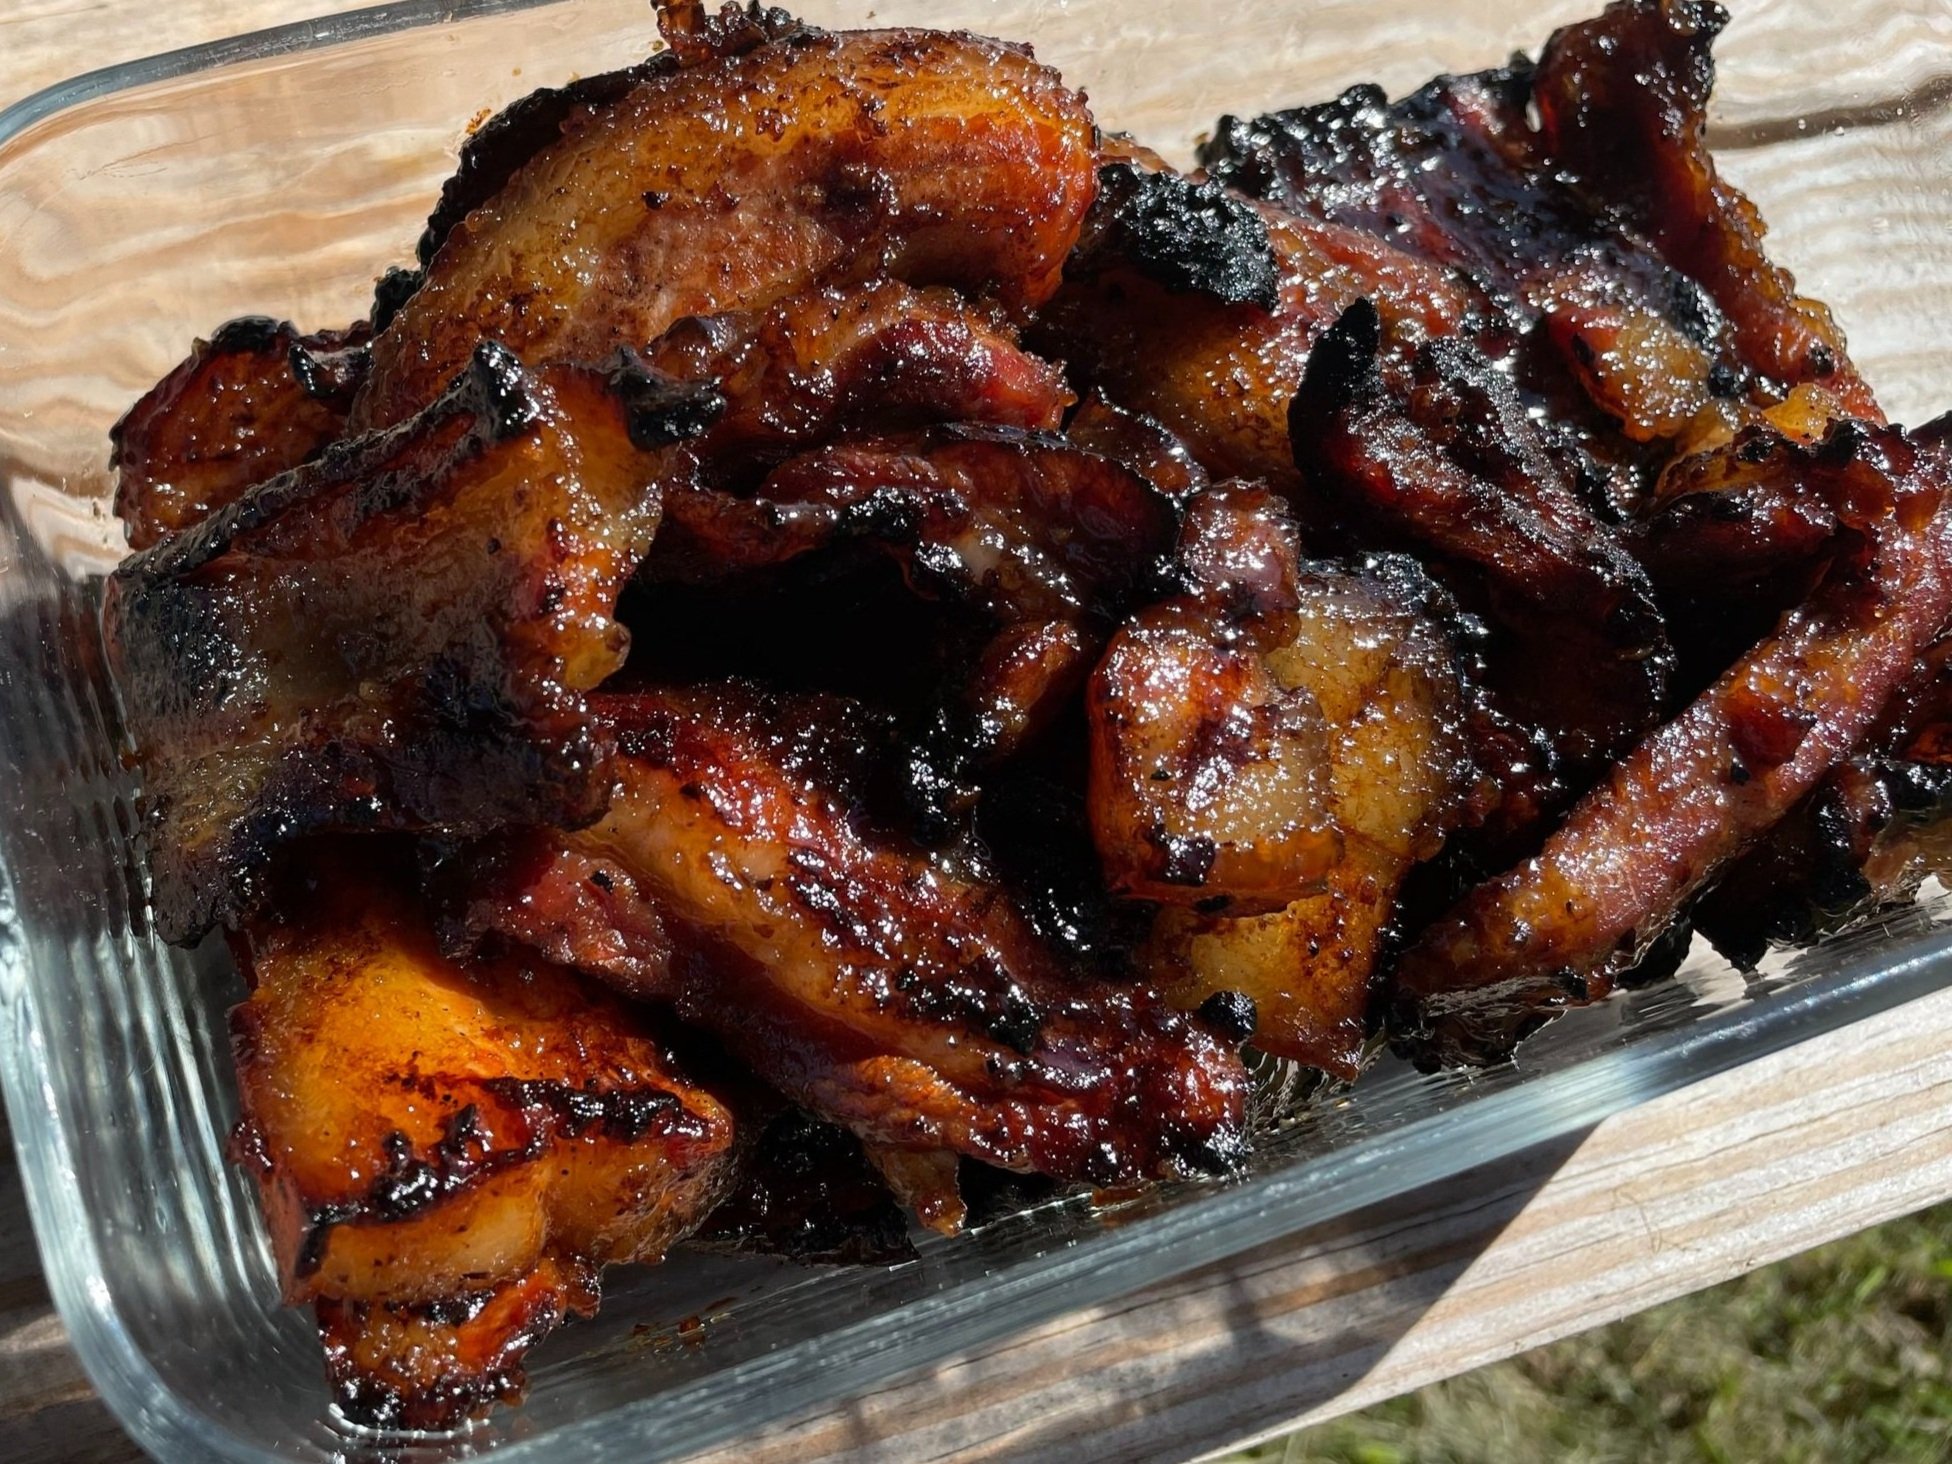
Grilled Sweet-Glazed Pork Belly

Source: Anchor Ranch Farm

Pork belly is an under-appreciated cut of meat in the United States because of the increased popularity of bacon since the social buzz campaigns of the Noughties. I blame Muscles Glasses.

I mean, bacon is wonderful, but so is the uncured pork belly. Also, you can make bacon out of a lot more than just pork belly. Shoulder bacon is, I think, for example, a better choice for bacon, lettuce, and tomato sandwiches.

Pork belly is more popular in Asian cuisine and we have featured several ideas from Asian-style cooking for how to prepare pork belly, including Red-Braised Pork Belly (Dong Po Rou) and Chashu Pork Belly. However, those are relatively complex recipes which require a lot of time in the oven. This is a faster (somewhat) version that uses a grill.

Materials

1 pork belly roast, skin off (skin on roasts are better used for some other method)

Soy sauce and honey or sugar-syrup

A grill. A propane grill would be easiest but charcoal is possible

Grill tongs

A fire extinguisher

Method

Slice the pork belly into strips a half inch or less in thickness and about 3 inches long.

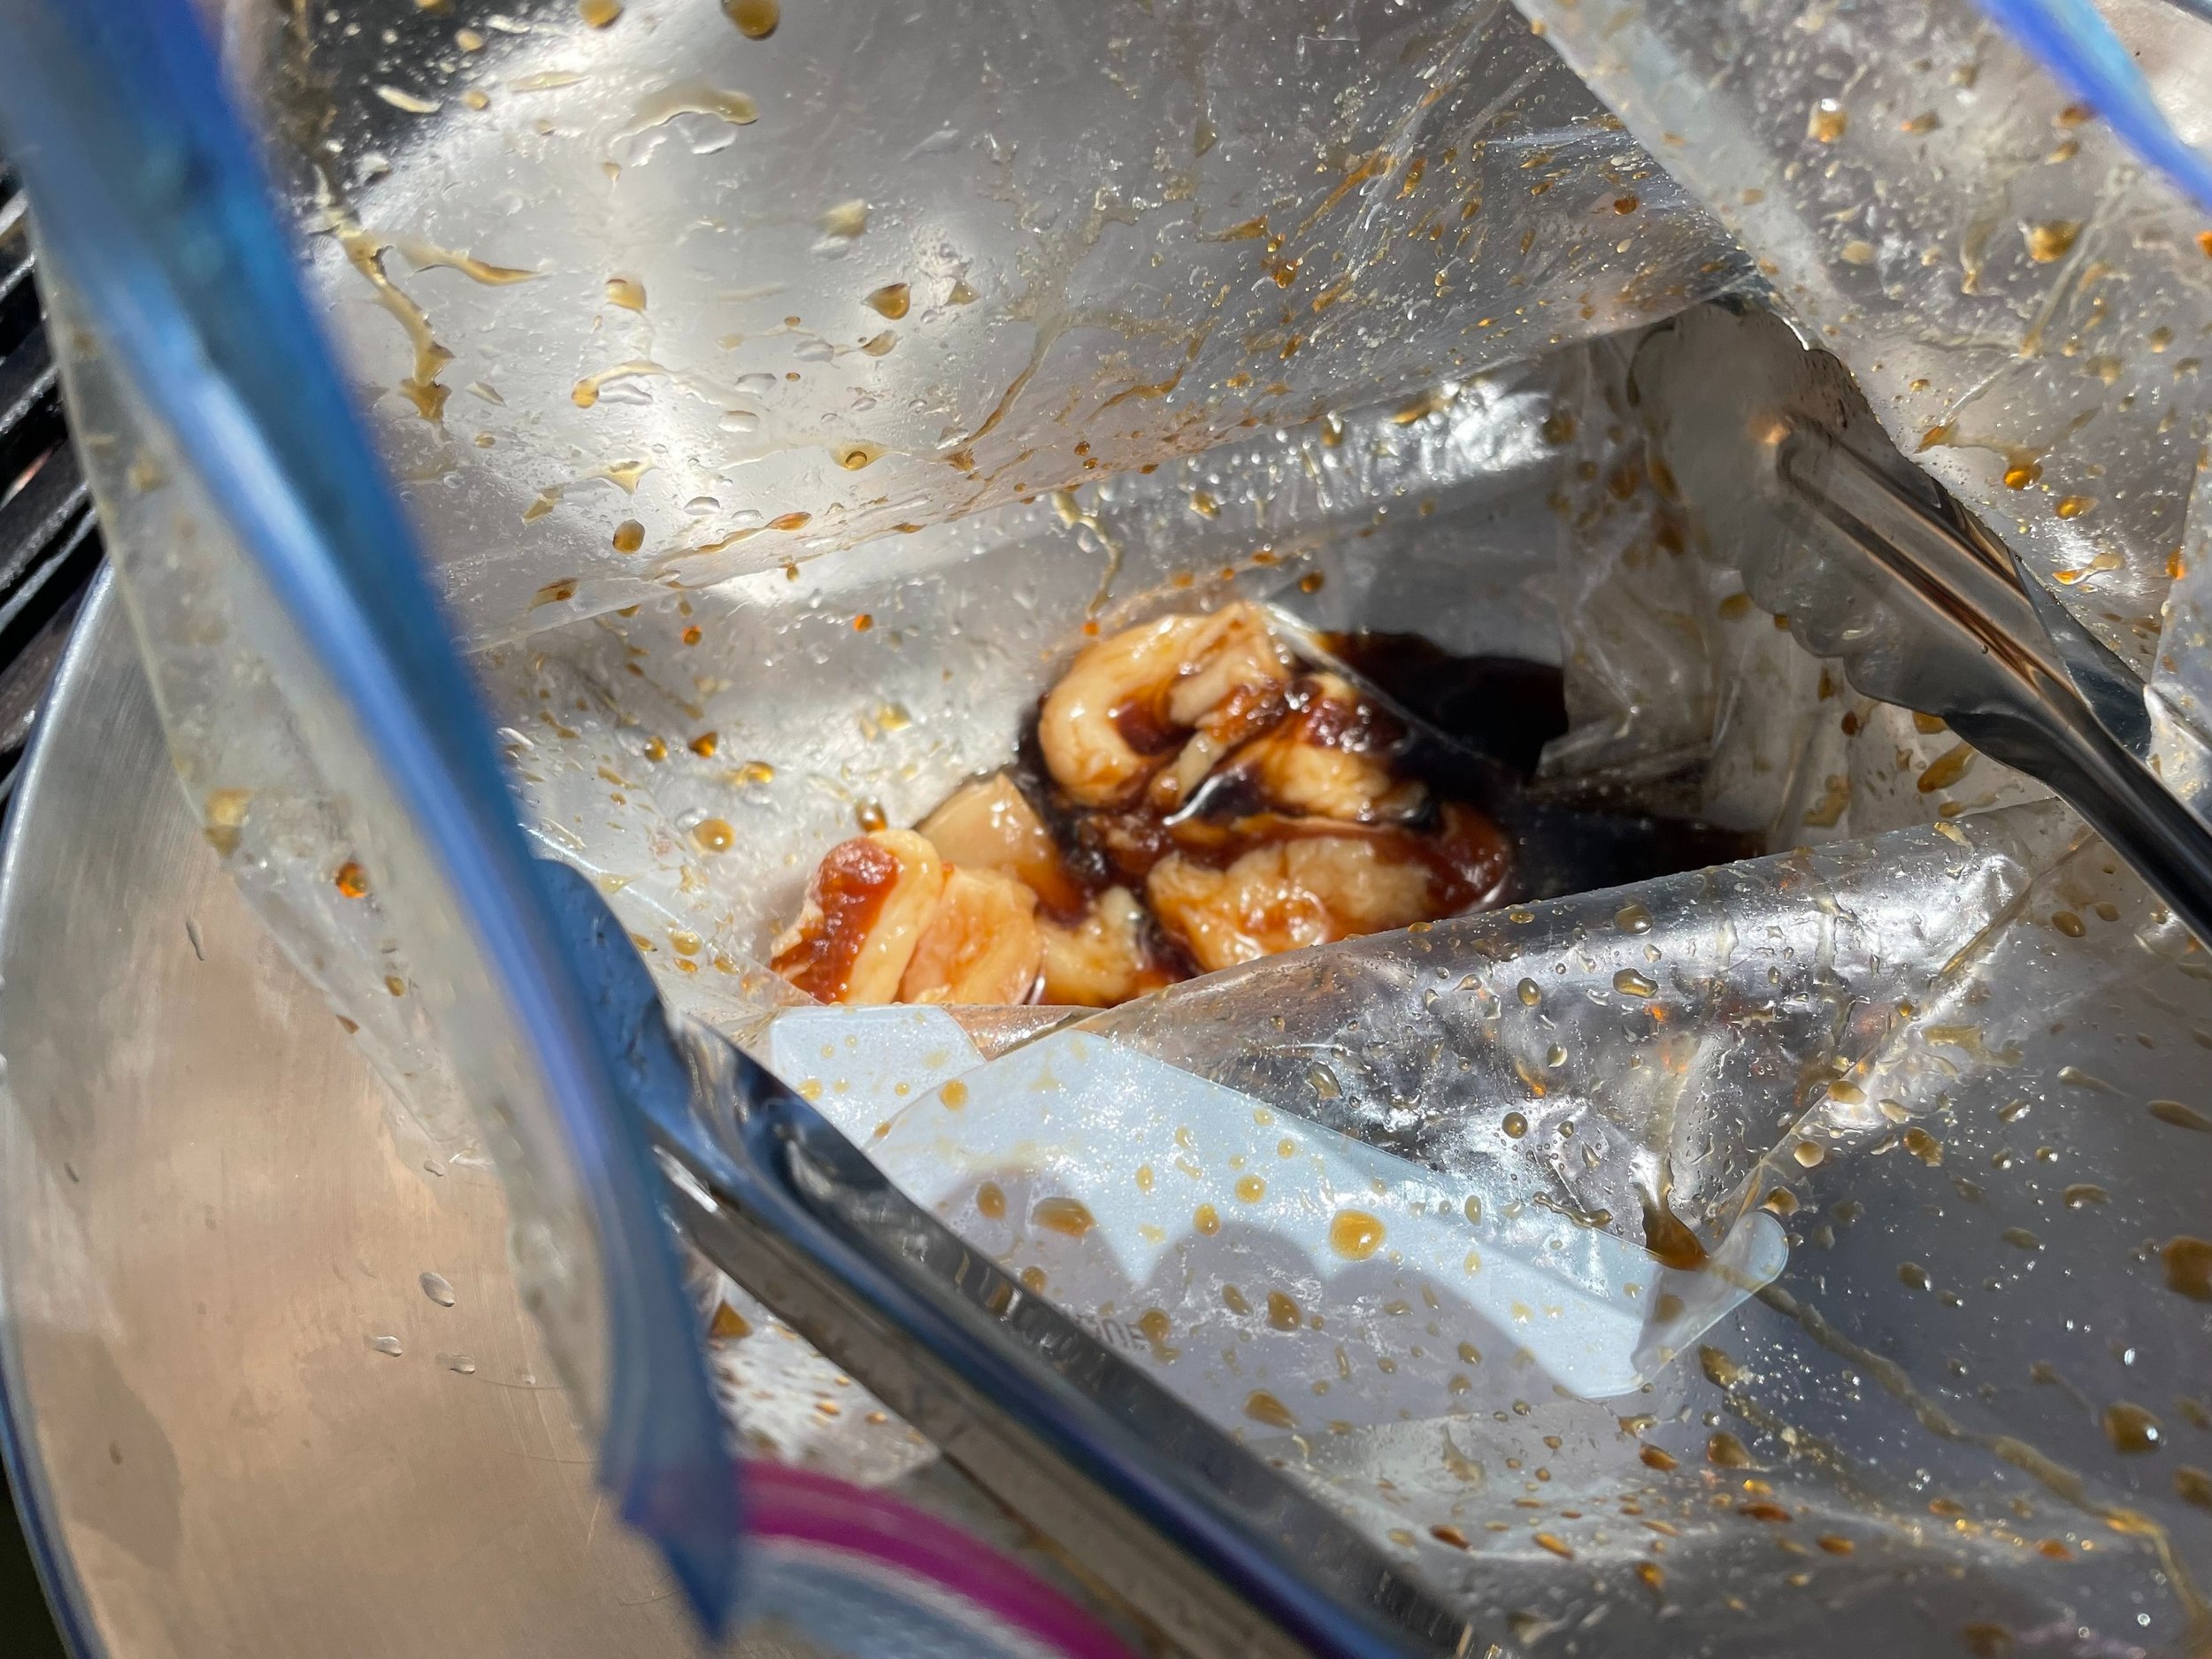
Mix a marinade of soy sauce and honey or sugar syrup. Proportions are up to you but don’t skimp on the sweetness, go light on the salty, and use enough liquid to cover the belly strips. Add other ingredients for additional flavor: garlic, red pepper flakes, onion, orange juice (if you need more liquid), brown sugar, perhaps other spices — whatever you like.

Pork belly strips in marinade. Source: Anchor Ranch Farm

Marinate the pork belly slices in the marinade for at least an hour. A good way to cover the meat without wasting a pile marinade ingredients is to put everything into a resealable plastic bag. Close the bag up almost all the way and submerge it in a pot of cold water until just the very top of the bag is exposed (so the water doesn’t go inside). The water will push the air out of the bag, creating good contact between meat and marinade without having to drown it. Close the now mostly vacuum-sealed bag and let the marinade do its work.


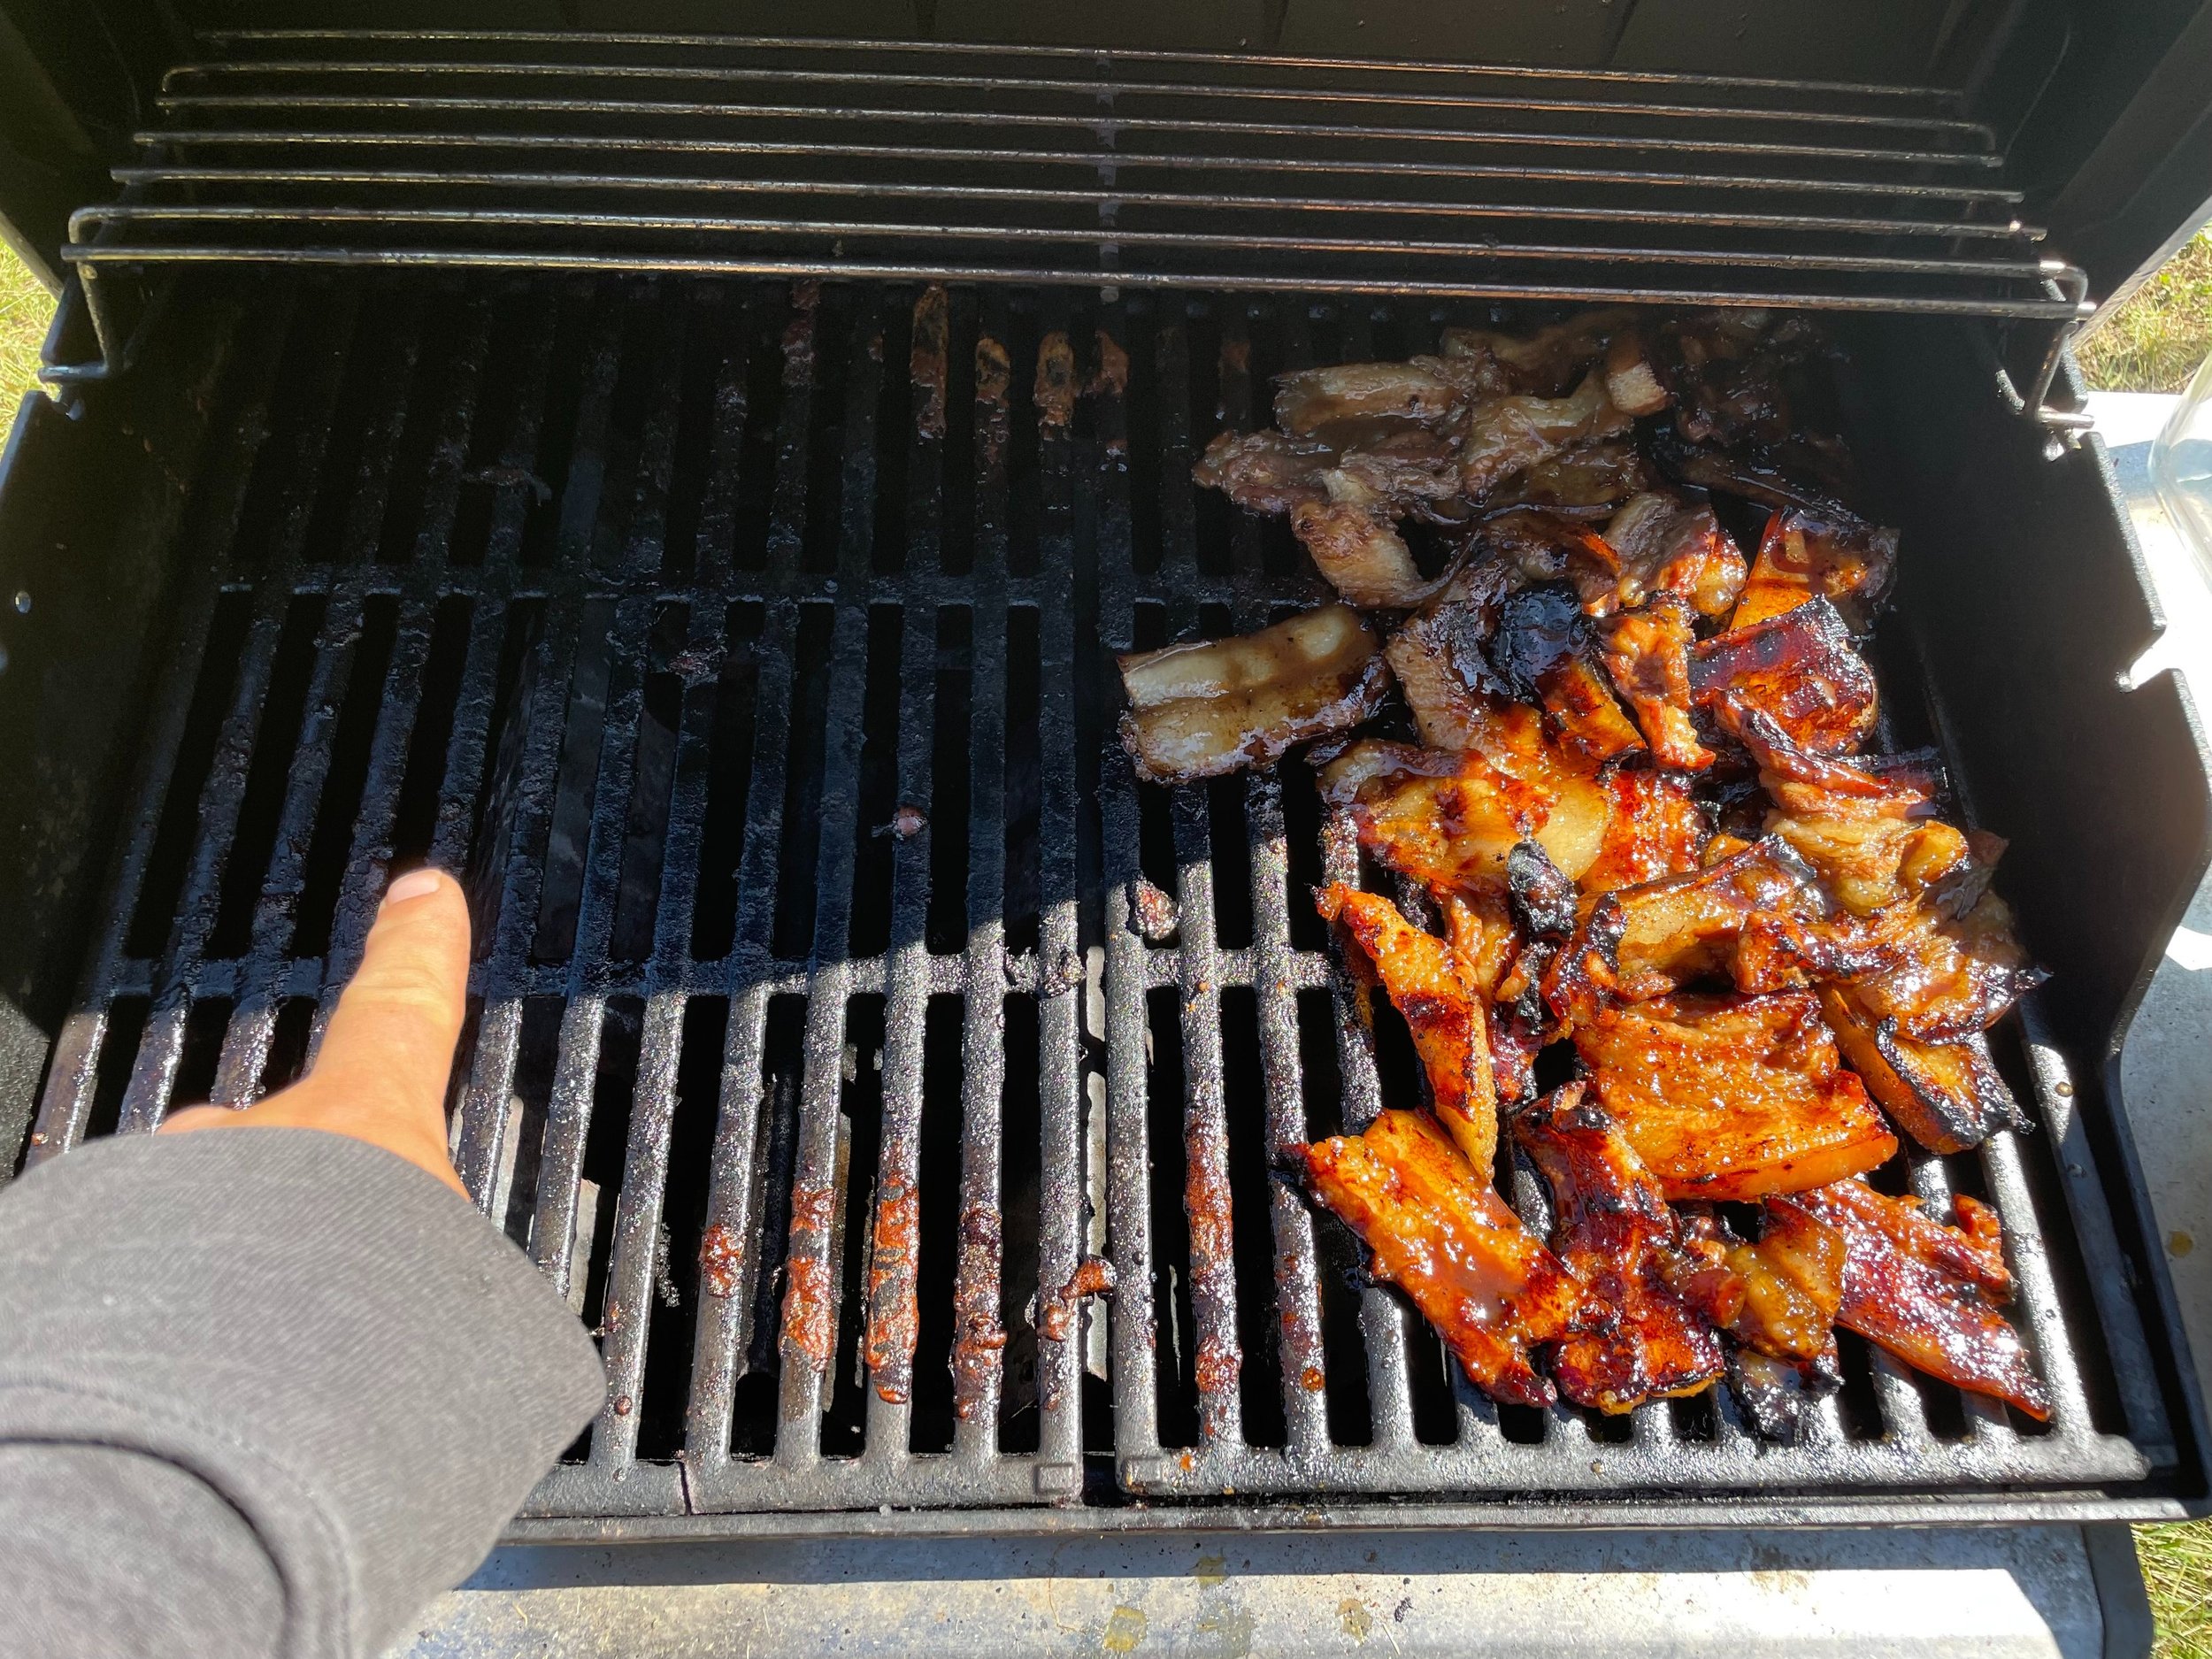
When ready to cook, take the meat out of the marinade and drain it but save the marinade. Start a two-zone fire in your grill and lay the strips of pork belly over the hot zone, working quickly. This is where a propane grill is nice, because the fatty pork belly will cause flare ups and it’s very nice to be able to turn off the flame. If using a charcoal grill, make sure the coals are all the way over on one side, don’t use a lot of coals, and make sure there is plenty of open grill top away from the flame. Close the lid of your grill.

Pork belly on the grill “hot zone” (easier on a gas grill where you can turn on and off burners as needed, but possible with charcoal also.) Source: Anchor Ranch Farm

Keep the lid closed to minimize flare ups. If when you start a grease fire, move all the pork belly off the flame, turn off the gas if possible, close the lid and wait for the fire to go out. If you only have a charcoal grill and you don’t feel completely comfortable handling a grease fire in your grill safely, take your pork belly to a friend’s house who has a gas grill so you can turn the heat off.

Once the pork belly gets some color on the first side (flare ups help with this), flip it once to the other side. This entire step will only take a few minutes.

Pork belly moved off direct heat to the grill’s “cold zone”. Only the burner pointed to in the photo is on. Note long sleeves of natural cotton fiber to protect from sizzling pops of pork fat.

Once you have some good color on the pork belly strips and and enough char to feel like you’re grilling, move all your pork belly strips to the cold zone of the grill. They don’t need to be spread out, you can put them in a clump or a pile away from the flame. Take your reserved marinade and brush or drizzle it over the strips. Then close the lid and let them cook with indirect heat. For better results let the pork belly strips cook in indirect heat long enough until they get soft. We left them for only about 10 minutes and that was not long enough; some pieces were chewy. Try waiting 30 minutes or more. You’re not going to dry out the fatty pork belly, just be careful to keep it away from the direct flame so as not to burn it.

Vinegar-based quick pickled (1 hour or so) vegetables are a great enhancement to fatty meats, especially in hot weather. Save the vinegar brine for future picklings!

When your pork belly strips are the desired texture and softness, take them off the grill. We made sliders with brioche buns and a quick cucumber pickle (julienned cucumber, vinegar, salt, sugar, coriander seeds, one hour) but this would be great in a rice bowl as well.

Roasted Fresh Pork Hocks

You need fresh pork hocks, not cured. Put them in boiling salted water with other aromatics (bay leaf, onion, pepper) as preferred and turn down the heat to a slow simmer. Simmer the hocks, covered, for 90 minutes. This step can be done ahead of time.

Preheat oven to 400.

Score the hocks in a diamond pattern all over and sprinkle with salt. Put in a roasting pan with rack and roast in the oven for about 90 minutes, turning every 30 minutes or so. If the skin is not crispy, finish under a broiler for a few minutes, turning frequently and watch carefully to prevent burning.

Serve with mustard, sauerkraut, potatoes, and lots of other sides. This is a very rich dish, of course, the best part is the crispy fat and skin and you’ll want lots of sides and condiments to accompany it.

Red-Braised Pork Belly

This is based on the recipe for “Dong Po Rou” here (see link), adjusted mostly to use ingredients which may be more commonly found in American kitchens. It takes about 3 1/2 hours and is extremely easy. (“Red Braised” refers to the color meat gets when slow-cooked in one of several kinds of cooking liquid, including soy sauce. And no, it’s not a bright red red, the same character for “red” also describes the color of tea.)

Materials

Pasture-raised pork belly roast 2-3 pounds

2 or 3 bunches of green onions (scallions)

An inch or 2 of ginger

2/3 cup Soy sauce

2 cups Shaoxing wine OR dry sherry OR cream sherry

A few tablespoons of molasses and white sugar, or brown sugar

A covered pot that will fit your pork belly, ideally heavy and ceramic

Method

Scallions and ginger in a ceramic-coated cast iron pot.

Trim the green onions and scatter them in the pot until the entire bottom is covered. If they are too big cut them in half. You need enough scallions to cover the pot, so, perhaps 6-10 plants (2-3 bunches).

Slice the ginger and arrange the slices relatively evenly on top of the scallions.

(Optional) blanch the pork belly for about a minute to firm it up and make it easier to cut.

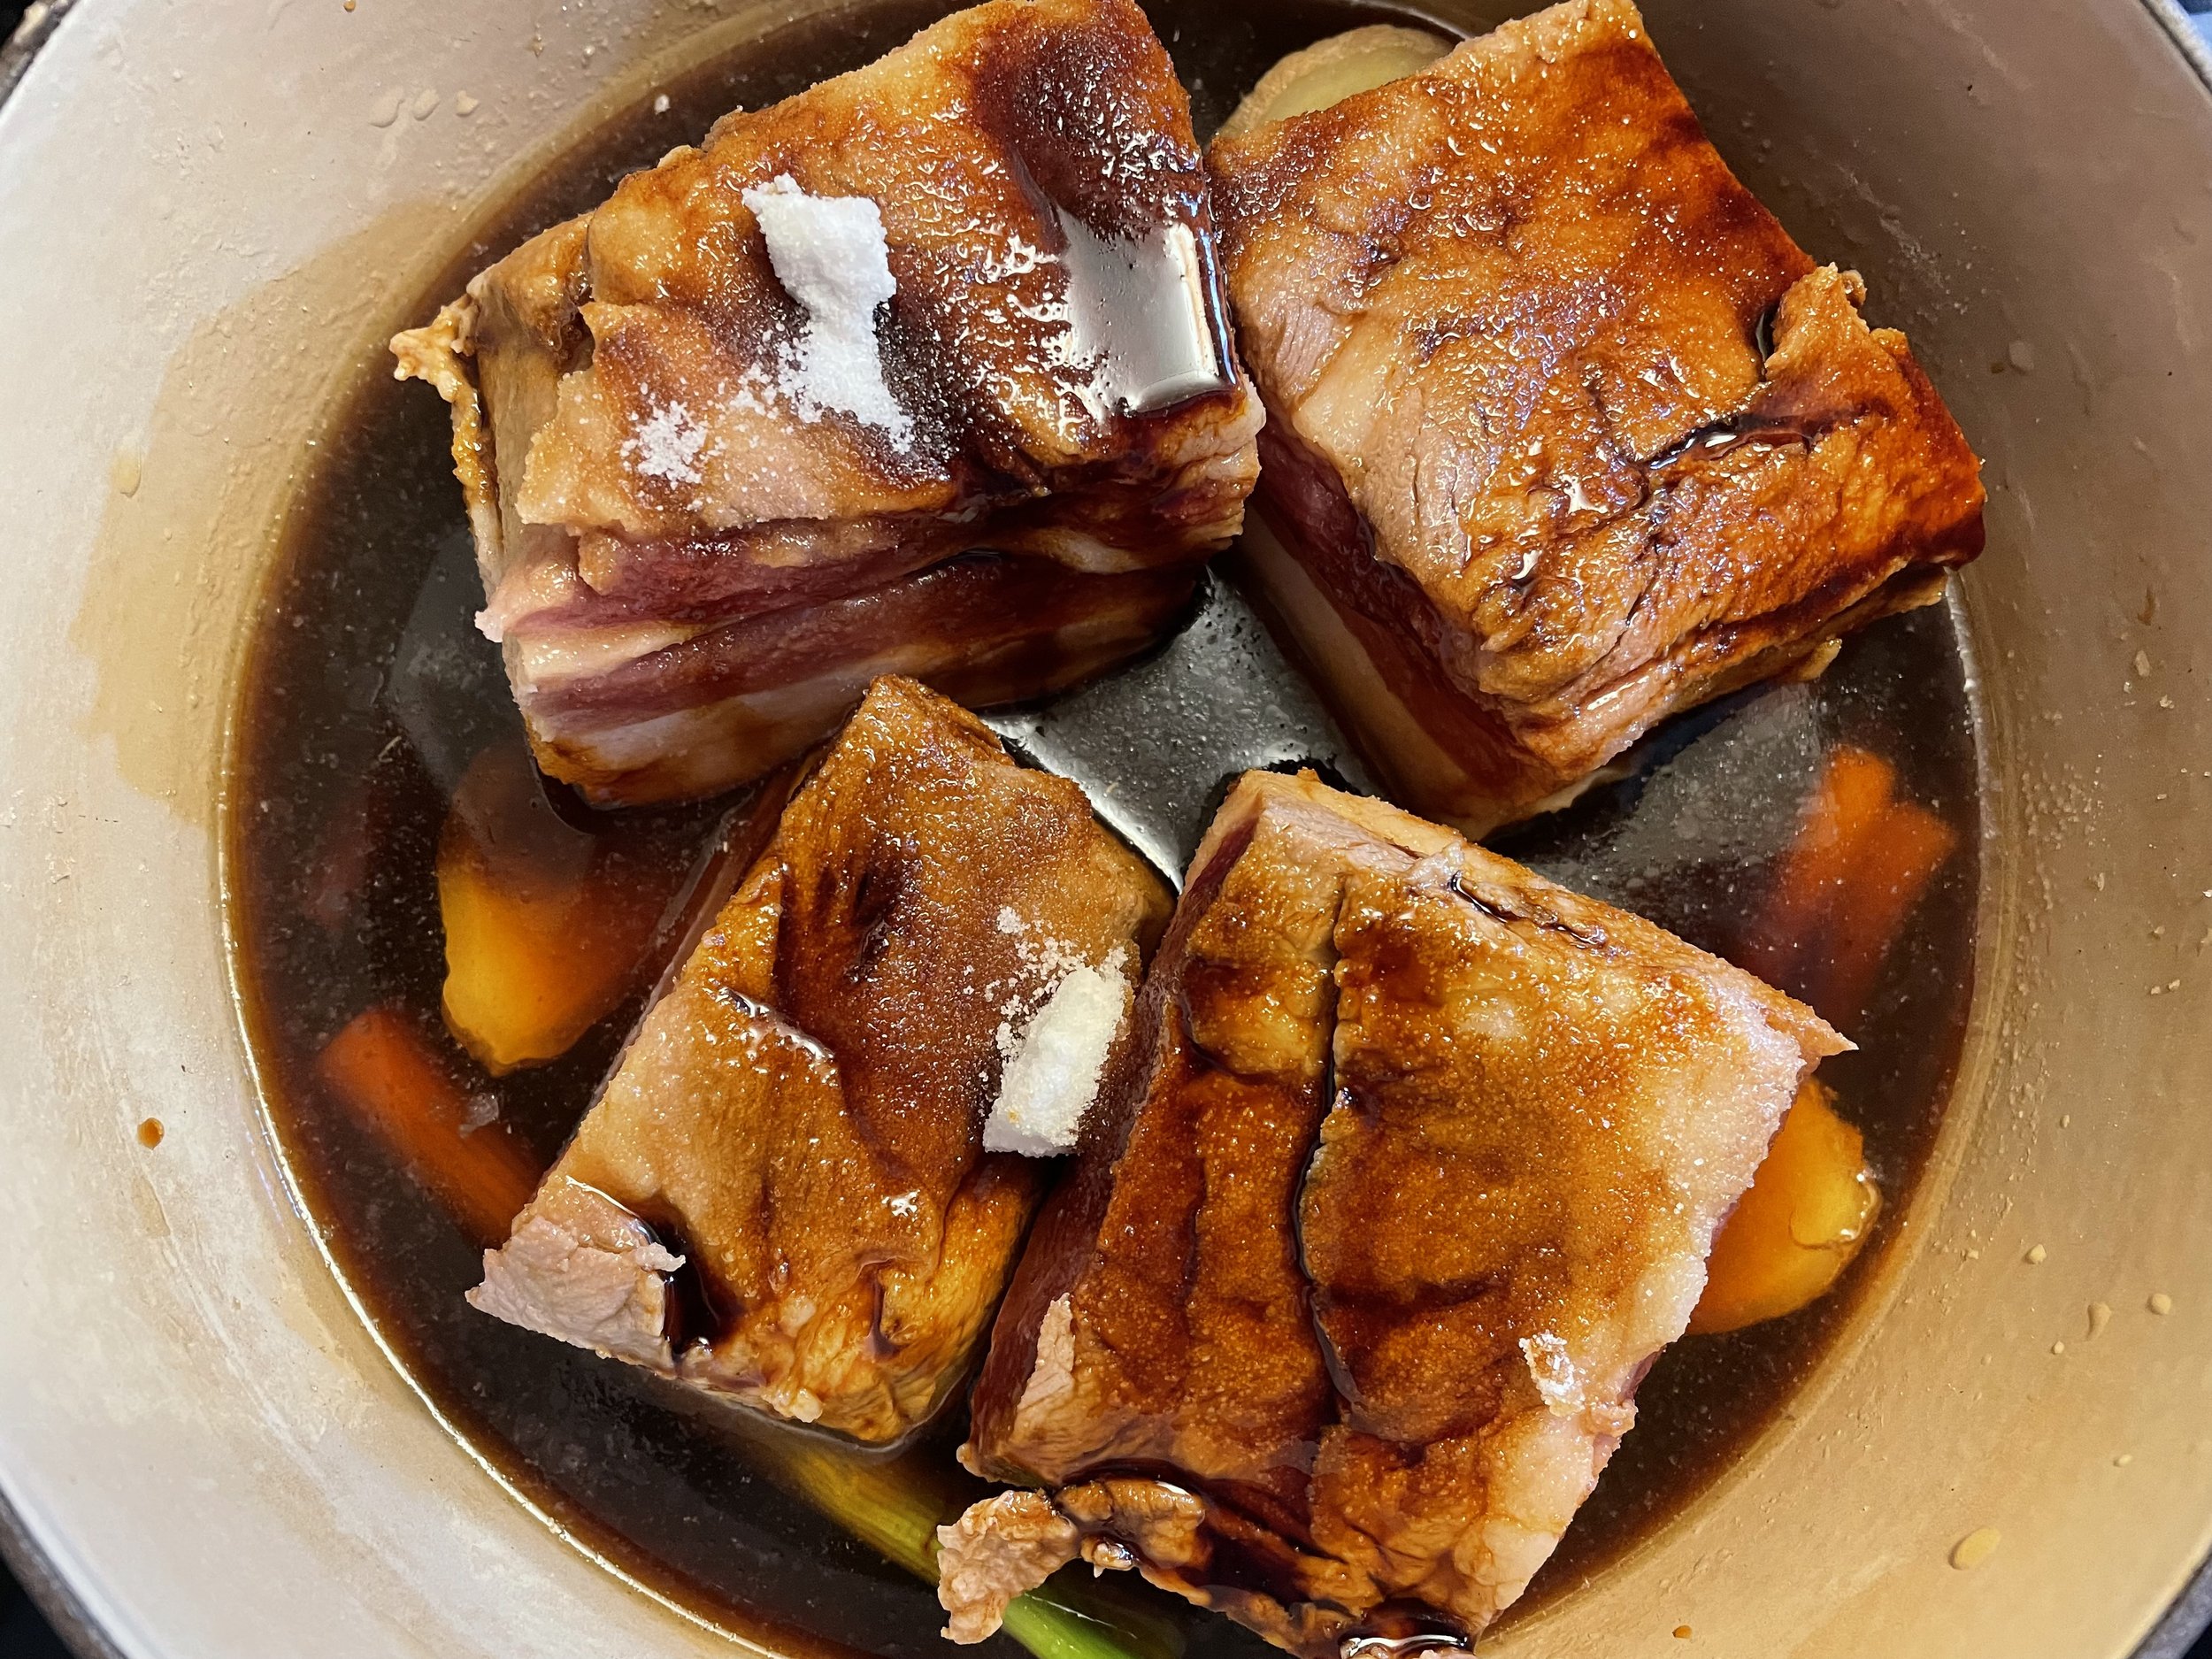
Pork belly pieces in braising liquid and sprinkled with molasses and sugar

Cut the pork belly into pieces 2 or 3 inches on a side. (Leave all the layers of the pork belly intact.)

Place the pork belly pieces fat side up on top of the scallions and ginger.

Pour the wine or sherry (or some mix thereof) and the soy sauce over the pork.

Sprinkle the pork with molasses and sugar or brown sugar. How much depends on what you want. Probably a tablespoon of molasses and 2 T of sugar are a good start. Most of the sugar is probably going to dissolve in the sauce, so if you want sweeter pork but you don’t want to eat the sugar, just skip the sauce.

Cover the pot, bring the mixture to a boil, and then turn down to a low simmer (no need to stir). Cook for one and a half hours and then flip the meat fat-side down and continue cooking, covered, for another 90 minutes.

(Optional) Before serving, take out the meat, put it in a pan and put it fat-side up under the broiler for a couple minutes to brown and slightly crisp the top. (If you’ve left the skin on the pork belly roast you can try to crisp the skin this way, although crispy pork belly would require a different recipe.)

(Optional) Put some of the cooking liquid into a saucepan and cook it over high heat to make a reduction.

Red-braised pork belly served with basmati rice, steamed broccoli raab with toasted sesame seeds, and pickled bamboo shoots.

If you don't want cured pork in a half hog share

We occasionally hear from people who don’t like (or at least don’t eat) cured pork products because of the salt and sugar content, the sodium nitrite, or because they simply prefer the flavor of fresh pork. If you are avoiding nitrite salt-cured pork but instead paying extra for “naturally” cured pork products, you are likely being deceived. Here is our old blog post on why “natural” cures are a scam which are probably less healthy for you than the regular stuff. If you want to avoid added nitrates, you’re going to have to just avoid commercially cured meat. You can make salted and smoked pork belly at home, instead of bacon. Just be aware that the reason cure recipes use pink salt (sodium nitrite) is to safely prevent dangerous toxins which could make you sick or kill you. Of course many people have salted and smoked meats without using sodium nitrite and never had a problem, but there is a risk and you should know what you are doing.

Here is what we would recommend you do if you want a half hog but don’t want cured meat.

Pork belly

Get this in 2-3 pound roasts. It’s very popular to leave the skin on and slow roast it so that the skin crisps in the rendering pork fat. Poke holes all over or cut slits to let the fat out. Without skin you can braise it such as in chashu. There are also many options to roast or braise pork belly in cubes, or fancier cooking options such as lechon kawali (simmer the cubes of pork belly until they are tender, then let them air dry and fry them). For the most versatility, leave the pork belly as a skin-on roast; you can always cut the skin off and cut the roast into cubes, later.

Uncured pork leg

With some fat left on, our pork legs work fine for making boneless roasts. It’s not quite as good as the pork shoulder but it’s certainly good enough. Leg steaks are also excellent. You’ll want to braise them or otherwise slow cook to keep them from drying out. Because of this, you likely don’t need to worry about steak thickness as much as with a pork chop, where thin chops are less forgiving of overcooking. A thinner leg steak will braise faster. As with the belly, cubes of leg meat are versatile and can be used in stews, braises, or grilled on skewers. You can always cut up a roast into cubes later.

Get the ham hock

If you’re avoiding cured meat for health reasons but you do enjoy the flavor, by all means make sure to get some cured and smoked ham hocks! Yes, these are cured and smoked, but while you can certainly eat the meat if you want to, what they’re really best for is to flavor things like beans and rice or vegetable soups. You get the salty, smoky flavor of the ham hock, but diluted in whatever broth you’re using, which means you can control and limit the amount of salt you ingest. Just remove the hock after it has given its flavor to your broth. Unless you are on an extremely strict diet, you’ll be able to enjoy the flavor of cured and smoked pork without actually eating it.

How I pan sear lamb loin chops

This is so easy it doesn’t really require a recipe.

Bring the chops to room temperature and season them with salt and pepper on both sides. Do this at least an hour before cooking. You want time for the salt to soak into the meat so you don’t just have a salty crust on the outside. A lot of chefs recommend using koshering salt for meat because the flakes make it easy to use. I stopped using koshering salt because my understanding is that it is quite pure. That sounds good for the intended purpose, but our bodies require a lot of other trace minerals besides salt. So we use a colored mineral salt (the natural color comes from other trace minerals which are mixed into the sodium chloride deposits where it is found.) Sea salt would also work. Anyways, use whatever salt you like.

When you are ready to cook the chops, bring a cast iron skillet to medium-high heat with a couple tablespoons of homemade cooking lard in it. Grass fed lamb chops have a fat cap but not much marbling so bringing extra fat to the pan helps. Natural lard works well with the lamb flavor. You want a good coating of melted lard on the bottom of the pan but it shouldn’t be sloshing: we’re searing with extra cooking fat, not frying.

Once the lard is melted and hot but not smoking, sear the chops on one side for about 2 minutes until they start to brown on that side. If this takes longer than 2 minutes turn up the heat. Flip the chops over and after a minute or so your pan is probably starting to get too hot, so turn the heat down to medium-low and let the heated cast iron continue to cook your chops. You want the lard popping though, so adjust heat as needed. After the 2nd side has browned, turn the chops onto their edge so that the fat cap starts to brown and render in the cooking lard. After that browns a bit flip the chops on to the other edge (this is where the T-bone is exposed) and sear that for 20 seconds or so.

I use a probe thermometer to check doneness. However, most thermometers aren’t all that accurate, so you kind of have to know what works with your setup. Lamb is medium at 140F and medium-rare at 130F, but my probe thermometer will read 140F when the meat is still bloody. Regardless, the meat should still have some give, some squishyness to it, when you remove the chops from the pan. The standard is to cook lamb to medium, but personally I think that is too much. I think our lamb chops are best medium-rare, and I like to err on the side of more rare and pull the chops off the heat a bit early to make sure the inside is still a nice pinkish red. I definitely recommend trying grass fed lamb chops the rare side of medium rare if you haven’t yet.

After you remove the chops from the pan, drizzle the lamb-flavored lard from the skillet over the chops. Then let them rest about 10 minutes before serving and eating. If you like the flavor of lamb, I think you will enjoy these.