Searching for a specific blog post? Try here:

Kimchi Jigae (Kimchi and Pork Soup)

This is such an easy soup to make, provided you have some fatty pork and some old kimchi. It’s so easy, and tastes great provided you like kimchi and a little spice.

I once lived on kimchi and sardines for a week. I was unemployed and job hunting and I didn’t have the energy at the end of the day to cook. There was a place nearby my apartment where I could get a decent side of kimchi “to go” for a dollar, so I would take that home and dump a can of sardines in oil on top and eat that for dinner. Not bad. There was also a place you could get a slice of pizza for a dollar, but I was trying to eat healthy and stay away from junk food. I think I got a job pretty soon after that though, possibly motivation helped.

To make kimchi jigae, first cut up a pork belly roast or some other fatty pork into chunks (about an inch). Slice at least one onion and prep however much garlic you want.

Put some lard in the bottom of your stew pot and put it on high heat. Add the pork and cook until the pork is pretty well cooked. Add in the onion and garlic and cook for another minute or so.

If you have gochugaru of course use that, but you can get by just fine with some dried red pepper flakes and cayenne pepper. Or maybe like a smoky chile powder. Add in however much spice you want. Also add some powdered ginger if you have it. If you don’t want spice, don’t make this dish.

Stir to incorporate the spice, then dump in your old leftover kimchi, stir again, and add enough water to cover everything.

Bring the soup to a boil, then turn down to a simmer and simmer for…well, everything is cooked now but it will taste better if you simmer it for several hours and let all the flavors meld and the pork fat melt into the soup. But you don’t have to.

Serve over rice or on its own.

(Okay yes you CAN put tofu into the soup, if you really want to be that kind of person. But you could also just add more fatty pork. I don’t like any of the recipes that call for adding rice cakes or other starch, because when I make kimchi jigae I make A LOT and those rice cakes and other starches just get weird, I think, when you re-heat them. I’d rather keep the starch on the side.)

Chicken and Dumplings

We’ll all have chicken and dumplings when she comes…

Materials

One or two whole pasture-raised chickens. Giblets optional.

A large pot

Onion, carrot, celery (amount depends on what flavor you want)

Salt, whole peppercorns, herbs de Provence or some other mixture of herbs including thyme and marjoram. (Or…not, if you don’t like thyme and marjoram with chicken. You do what you want.) A few bay leaves, and or some dried mushrooms or mushroom powder would go well. Maybe soy sauce? Something for umami flavor is the idea.

Other vegetables (canned or frozen corn or peas work well)

Dumplings (see below)

Optional: grass-fed butter, green onion, parsley

Method

Put the chicken(s) in the pot and cover it with plenty of water. Simmer the chicken for several hours. A lid helps. Do not boil the chicken, this can make it tough.

Remove the chicken from the pot. Reserve the broth (which you have just made) in the pot. Let the chicken cool.

Vegetables and Broth. (Heirloom carrots, some are yellow.)

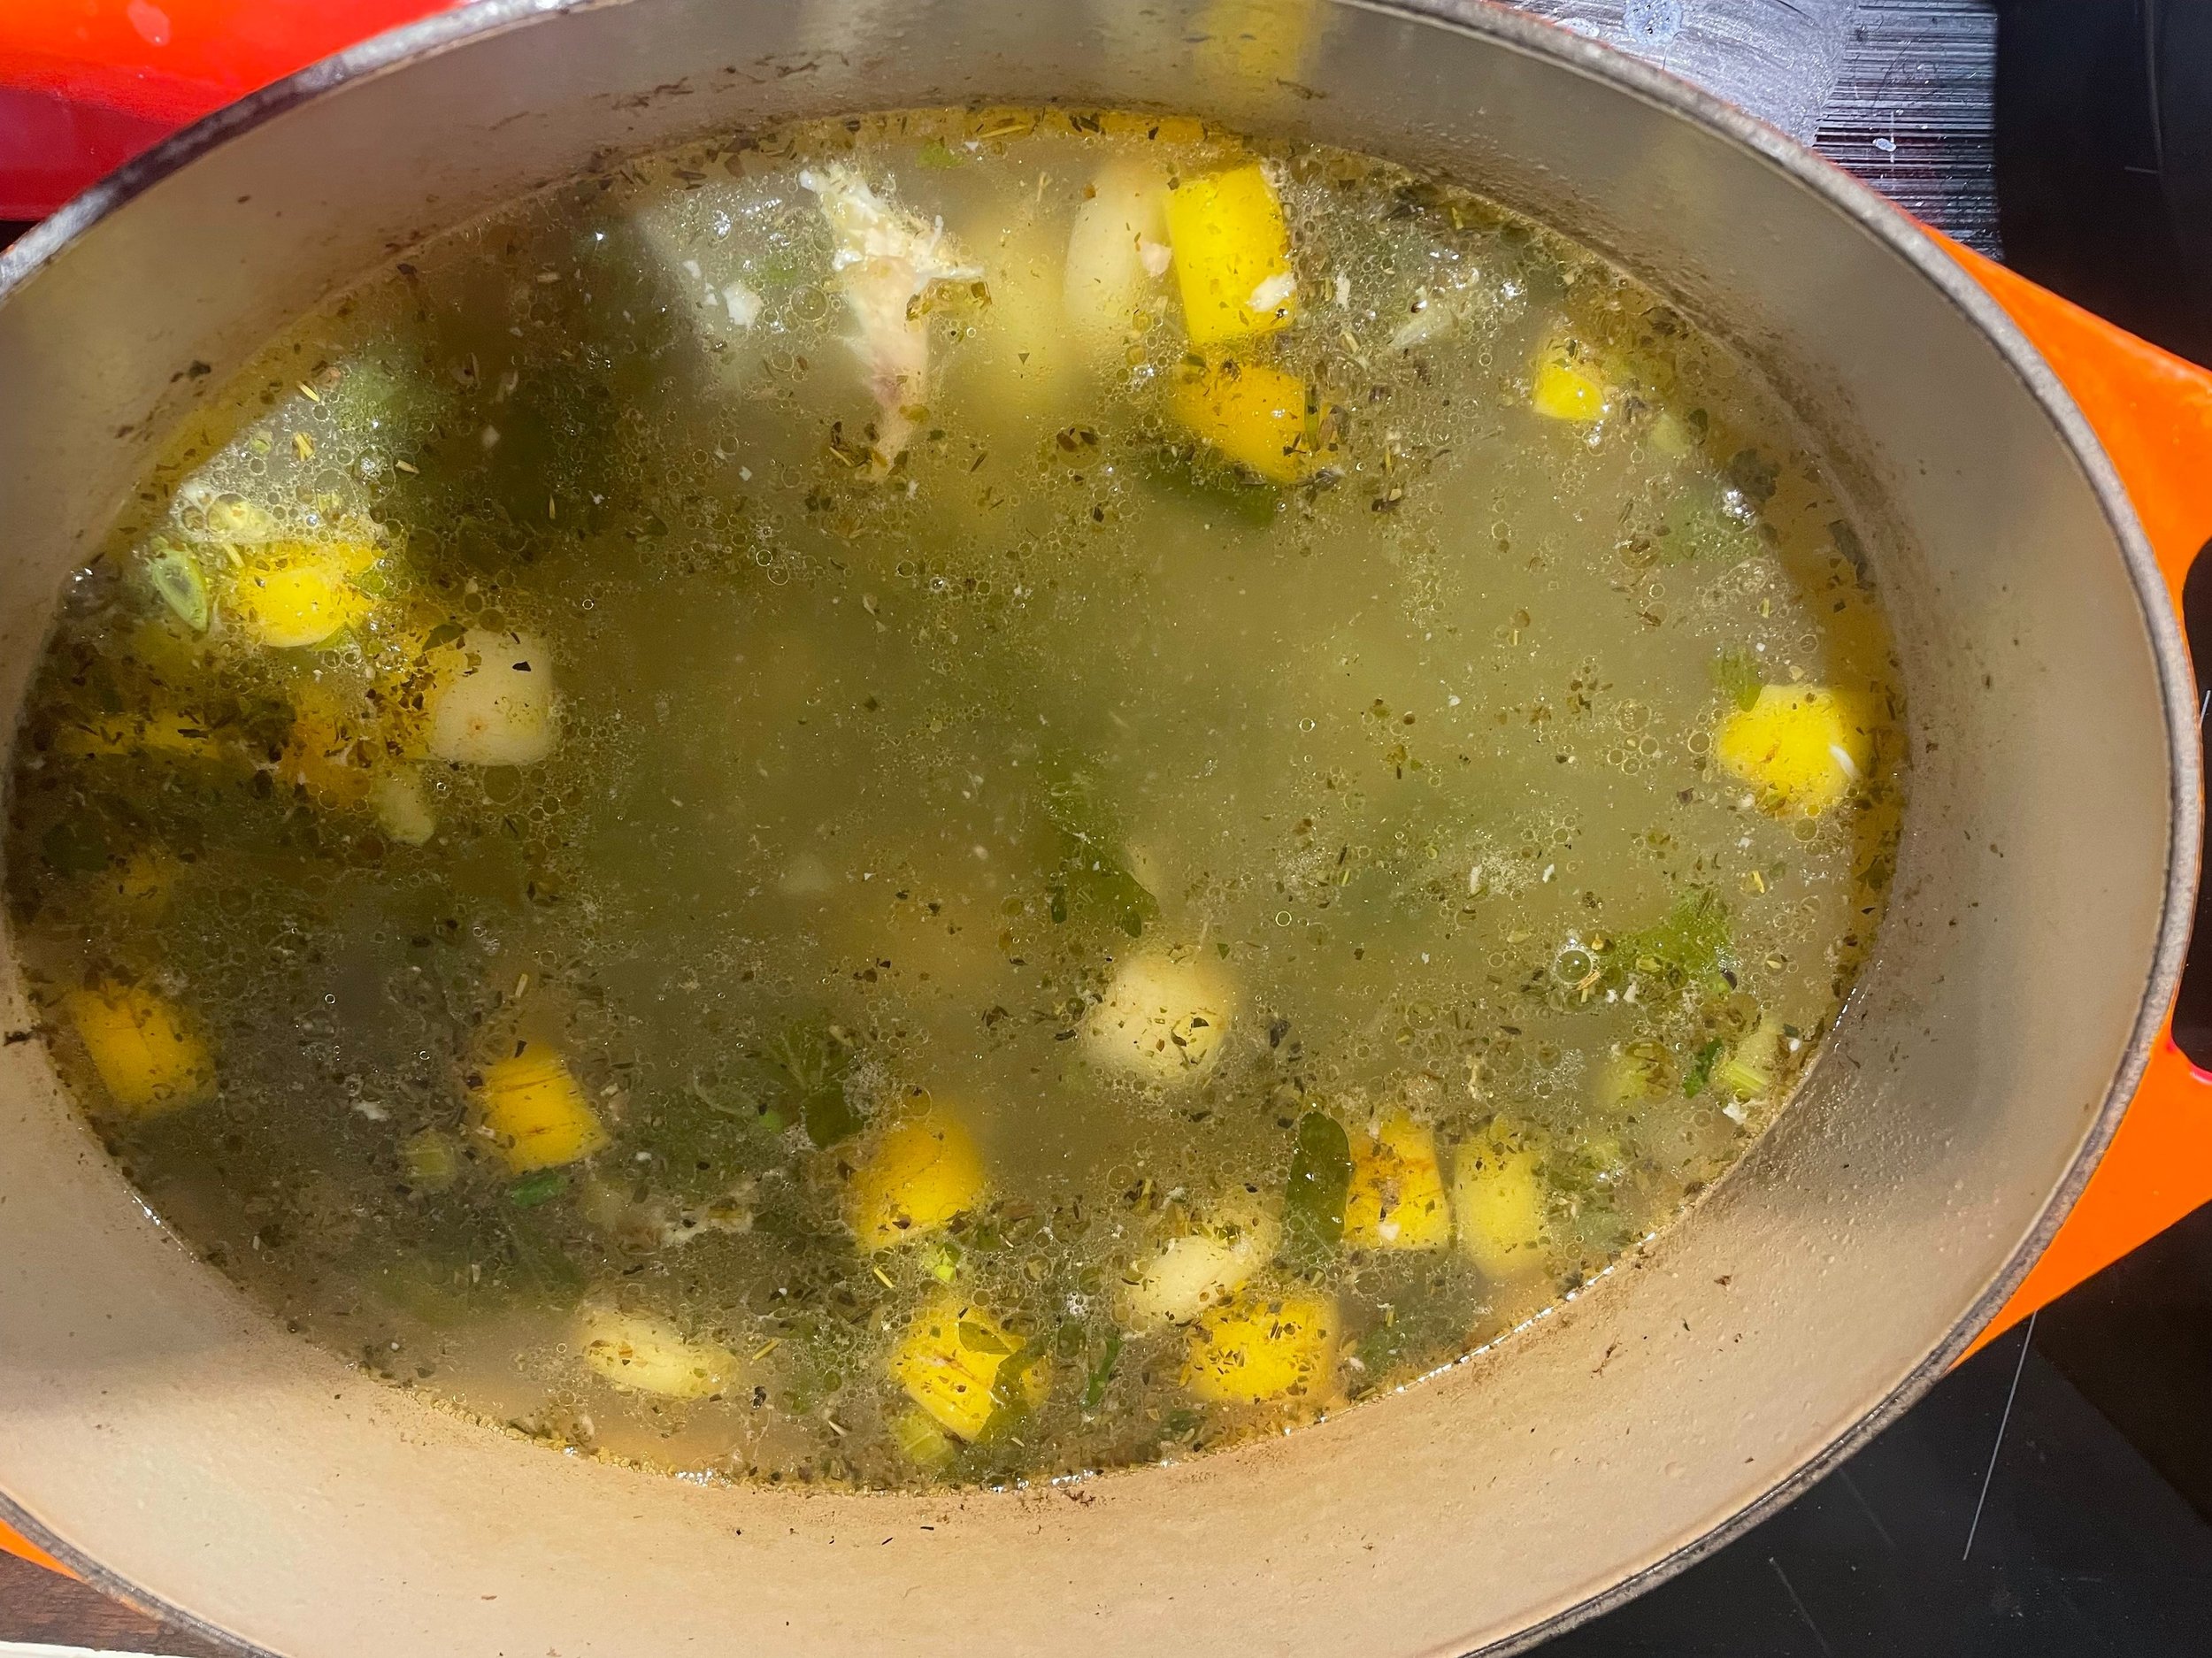
Chop onion, carrot, and celery and add to the pot with the broth. Add salt. Add a small handful of peppercorns. Add herbs or herb mix. Add bay leaves. Turn up the heat to a slow boil.

Shredded Chicken separated from bones

When the chicken is cool enough to handle, pull off the meat. Discard the bones, and the skin unless you want to eat it; optionally, save the largest, thickest bones.

Taste the broth, add salt if needed. Optionally, add the largest chicken bones back to the stock for more flavor. (You will need to remove these eventually.) Continue boiling the soup for 10-15 minutes, then reduce to a simmer.

When the carrot and celery are soft, add back in the chicken meat and any extra vegetables. We like to use sweet corn. You can cut the kernels off the cob when corn is in season and freeze it for use over the winter.

A chicken in every pot

Taste for seasoning one last time. Optionally, add in a few tablespoons of butter.

Drop dumpling batter, mixed

Add the dumplings. There are a lot of different dumpling recipes. You can use a biscuit mix from the store, you can make spaetzle, you have a lot of options. A simple drop dumpling recipe is as follows: Combine 2 cups of flour, 2 teaspoons baking powder, 1/2 teaspoon baking soda, 2 teaspoons sugar, salt, and seasonings (we use a seasoning salt). Mix together 1 cup of whole milk, a few tablespoons of melted butter, and a dash of apple cider vinegar. Fold the wet ingredients into the dry. Don’t overmix. Make sure the soup is simmering enough to create steam. Use 2 spoons to drop (thus the name) large spoonfuls of dumpling batter onto the top of the soup. Cover with a lid and simmer the dumplings 15 minutes.

Serve the dumplings right away, or they’ll begin to disintegrate into the soup (not the end of the world). Consider garnishing with green onion and fresh parsley.

Ham hocks and beans

hamhocksandbeans.JPG

2 tablespoons lard or other cooking fat

2 - 4 smoked ham hocks

a few tablespoons apple cider vinegar

1 pound dry beans such as black beans

1 onion, diced

1 bunch celery, sliced

3 carrots, sliced

minced garlic (as much as you like it)

several large pinches of ground cumin

several large pinches of dry oregano

1/4 cup molasses

2 bay leaves

chicken stock (optional) or salted water

Thanks to Justina’s photography we have a picture this time!

Smoked ham hocks are a great way to add flavor to vegetable-based soups and stews, especially beans. For some people this is very much a traditional New Years meal. While it takes a long time to cook, most of that is just letting it sit on the stove on very low heat, so it’s a pretty low-effort meal for what you get, which is delicious.

Soak the beans overnight in a large pot full of water and defrost the ham hocks.

Start cooking by mid-morning or at the lastest noon in order to have this ready for dinner. Remove the beans from the pot and drain them. Heat lard or another high-heat cooking fat in the pot over medium-high heat. Add the ham hocks and sear them on all sides. Remove ham hocks.

Add diced onion and cook until translucent. Add garlic and celery and continue to cook until garlic begins to brown.

Add carrots and any other vegetables and cook for another minute or so. Most bean soup recipes call for things like green pepper. This is very much a winter-time dish, and green peppers are not in season. Parsnips could be a good addition, or replacement for the carrots. Wintertime greens like kale would fit well. Avoid starchy vegetables like winter squash, as the beans will have enough starch on their own.

Add the beans to the pot. Add chicken stock or water and a pinch or so of salt. Add enough liquid to cover the beans and no more. Add the vinegar. Add the cumin and oregano. If you feel the need to measure, something like a teaspoon or two of each. Add the molasses. Add the bay leaves. Stir everything, then add the ham hocks so they are covered as much as possible by the liquid.

Bring the soup to a boil and then turn down to a very low simmer and…wait. Stir the beans and flip the ham hocks every couple hours. It will likely take several hours for the beans to be tender, and you are also looking to reduce and thicken the broth.

Of course this recipe would work just fine in a crock pot or slow cooker.

When the meat starts pulling off the ham hocks, remove them from the pot. Pull the meat and fat off the bones, discard the bones, and shred the meat and fat with two forks, then return it to the pot of beans and stir. Continue to cook on a low simmer. You can basically keep simmering until you want to eat; the beans will eventually get mushy, but this doesn’t make them taste bad and will only happen after a long time. Everything will just get better the longer it cooks together, and the broth will be better the more it reduces. As the beans break down and release starch into the cooking liquid it becomes creamy and delicious.

A crusty sourdough or rye bread would be good to serve with the soup, to soak up the very flavorful and nutritious cooking liquid.

Liver Dumpling Soup

IMG_20191119_172759.jpg

“Liver dumplings?” you say. “Really?”

Unless you’re saying, “Leberknoedel! Sehr gut!”

But yes, really. These dumplings are three-year-old approved.

With a food processor this recipe is quite simple to make, and is a great way to make a meal with our healthy, pasture-raised pork liver. This is for when you want a mild, “hm, yes, I can taste the liver in this” and not the strong, “Wow! That’s a lot of liver flavor!” that you would get from something like a “paatay”. (Our website software apparently doesn’t know how to print an e with an accent.)

You will need

A large cooking pot, a couple large bowls, a knife, and a food processor.

Liver (Get GOOD liver. Possibly from an Anchor Ranch Farm pasture-raised pig! You could use calves liver or beef liver as well.)

Bacon (Possibly from an Anchor Ranch Farm pasture-raised pig!)

A couple eggs (Ditto, except from a chicken. Pigs don’t lay eggs. That would make breakfast too easy.)

Plain wheat bread (could be white, whole wheat, or sourdough)

Milk or cream

Bread crumbs or just some old extra bread

Fresh parsley or possibly some other fresh herb you like

Marjoram (dried or fresh)

Onion

Salt and pepper

Seasoned beef broth. (You could of course use pork broth, but in fact using beef broth provides a nice flavor contrast, and while the liver flavor really isn’t that strong, chicken broth probably isn’t going to be enough to stand up to it.)

Here’s what to do

Take about as much bread as you have liver (by size, not weight) and cut or tear it up into pieces. Soak these in milk or cream. Use your hands and squish the bread and milk to ensure the bread is soaked. Use enough milk or cream that the bread gets very full of milk, but not so much that the bread can’t soak it all up. Do this first so you can set it aside and let the milk soak into the bread while you prepare everything else.

If you get liver from us it ought to be pretty well cleaned already. Cut it up into pieces about 2 inches in size. You may find some tough parts, cut those out and give those to the dog.

Cut the bacon into about 2-inch pieces. Use enough bacon that you’ll be able to taste it, but you don’t need a 1:1 ratio. These are liver dumplings with some bacon added for the flavor, not bacon-and-liver dumplings. This would be a great way to use those “bacon ends and pieces” you got a good deal on.

Put the liver pieces and bacon pieces in your food processor and make pink paste.

Finely dice an onion and chop some parsley. Again, you want enough onion and parsley that you can taste them, but you don’t want so much that these turn into onion dumplings.

Like this!

Like this!

In a large bowl, using your hands, mix the milk-soaked bread, liver-and-bacon paste, onion, parsley, marjoram (a pinch or a couple teaspoons, depending on whether your liver is measured in ounces or pounds), salt and pepper, and two eggs. The mixture will be very wet. Add bread crumbs or crumbled old bread until the mixture sticks together. You should be able to pick up a spoonful and turn the spoon over without it falling off.

None of this takes very long, but you could do this part in advance and just store the mixture in the fridge until you’re ready to cook.

Cooking takes about 30 minutes

In a large pot bring the broth to a boil. After you begin adding the dumplings, turn down the heat. The dumplings should be simmered, not boiled. (The cold dumplings will cool down the broth. That’s why you want to bring the broth up to a boil first and then turn down the heat to cook. If you add the dumplings first and then try to heat it up, it will take you until forget-it-we’ll-just-have-pizza time to get the whole thing up to temperature.)

Here’s what they look like while cooking

Here’s what they look like while cooking

Using a soup spoon or other large table-spoon-ish-sized instrument, make “quenelles” of the dumpling mixture. (“Quenelle” is apparently a fancy French word for “a spoonful”. We don’t know. All the French people we know talk like normal people.) Slide them off the spoon into the simmering broth. You might need to use another spoon (or your finger) to help get the sticky dumpling mixture off the spoon. You can fill the pot with dumplings, just make sure that the dumplings are in the broth and not piled on top of it. After they cook for a bit they will float to the top; that’s fine.

Let the dumplings simmer in the broth for 25 minutes. As long as it is simmering and not boiling, you can cook them longer if you’re not ready to eat yet. We kept them on for 50 minutes and second helpings tasted as good as the first. If you are going to cook them longer, put a lid on the pot so your broth doesn’t evaporate away.

Serve the dumplings in the broth and with some more rough-chopped parsley. This isn’t a low-carb meal given all the bread and bread crumbs in it, so some nice crusty bread is a nice addition to help soak up the broth.

If the soup smells strongly of liver, do not despair! (We’re not saying it smells “bad”, just strong.) In fact it will likely taste relatively mild. It seems something about the liver flavor compounds aerosolizes quite well, but the smell isn’t an indication of the taste.

Seriously this is really good. Bitte!

Tonkotsu Ramen

Homemade Tonkatsu ramen, chashu braised pork belly, chashu marinated egg, nori, mushrooms, scallion

Homemade Tonkatsu ramen, chashu braised pork belly, chashu marinated egg, nori, mushrooms, scallion

We made this delicious tonkotsu-style ramen soup with several pounds of pork soup bones from one of our pasture-raised heritage pigs. We mostly followed this recipe from honestcooking.com. (We don’t know the folks behind that website, but their recipe came up in a web search and looked good. It tasted good too!)

What follows are some notes from the process of making tonkotsu broth. This is a great way to use pork bones for a special occasion, like a New Year’s Eve dinner.

Crack and Boil the Bones

Tonkotsu is a pork bone broth. When we make it again we will just use pork bones. The recipe linked above calls for adding chicken bones, which we did, but the chicken bones didn’t add anything and could have been better used to make chicken stock. We used regular pork soup bones, not split pig trotters. Next time we will also crack the pork bones with a hammer or perhaps saw them in half to expose more of the marrow. If you do this make sure to wash the bones afterward to wash off any bits of bone dust.

We boiled the bones for 24 hours in our largest pot. There doesn’t seem to be any downside to cooking them this long. We did bring the bones to a boil first and then discard that liquid to get rid of any coagulated blood. This makes the broth look creamier and less brown. Honestly for us it was a waste of time as we would not have minded browner broth.

Aromatics

Along with the bones we boiled 2 large leeks halved and sliced, about 10 chopped up green onions, 1 large onion peeled and quartered, about 15 garlic cloves peeled and smashed, a half finger-length of ginger sliced (not peeled), about a cup of mushroom stems and sliced mushrooms, and 3 large pinches of salt.

If making this again in winter time (when else do you want your stove on for 24 hours?) we would leave out the green onions which don’t grow in our garden in this season and add an extra onion and more mushrooms, or perhaps some dried mushrooms which sometimes have more flavor.

Add ins

Ramen noodles of course. Cooked. Not the instant kind. If you don’t have real ramen, use thin wheat noodles and boil them in water with a handful of baking soda. Ramen noodles are alkaline wheat noodles, so cooking wheat noodles in baking soda water (which is alkaline) mimics some of the effect.

Sliced chashu pork belly.

Boiled eggs (marinading these in leftover chashu sauce really does make them even better). Our eggs come from our free range layer hens.

Sliced mushrooms

Fried garlic slices (and the oil you fried it in)

Nori seaweed

Vinegar (we used a Chinese-style vinegar made from rice and wheat bran)

We added sliced green onions but while they make for a pretty dish, they really didn’t add anything outstanding to the flavor. It’s probably best to add things that bring out or compliment the flavor of the tonkotsu broth.