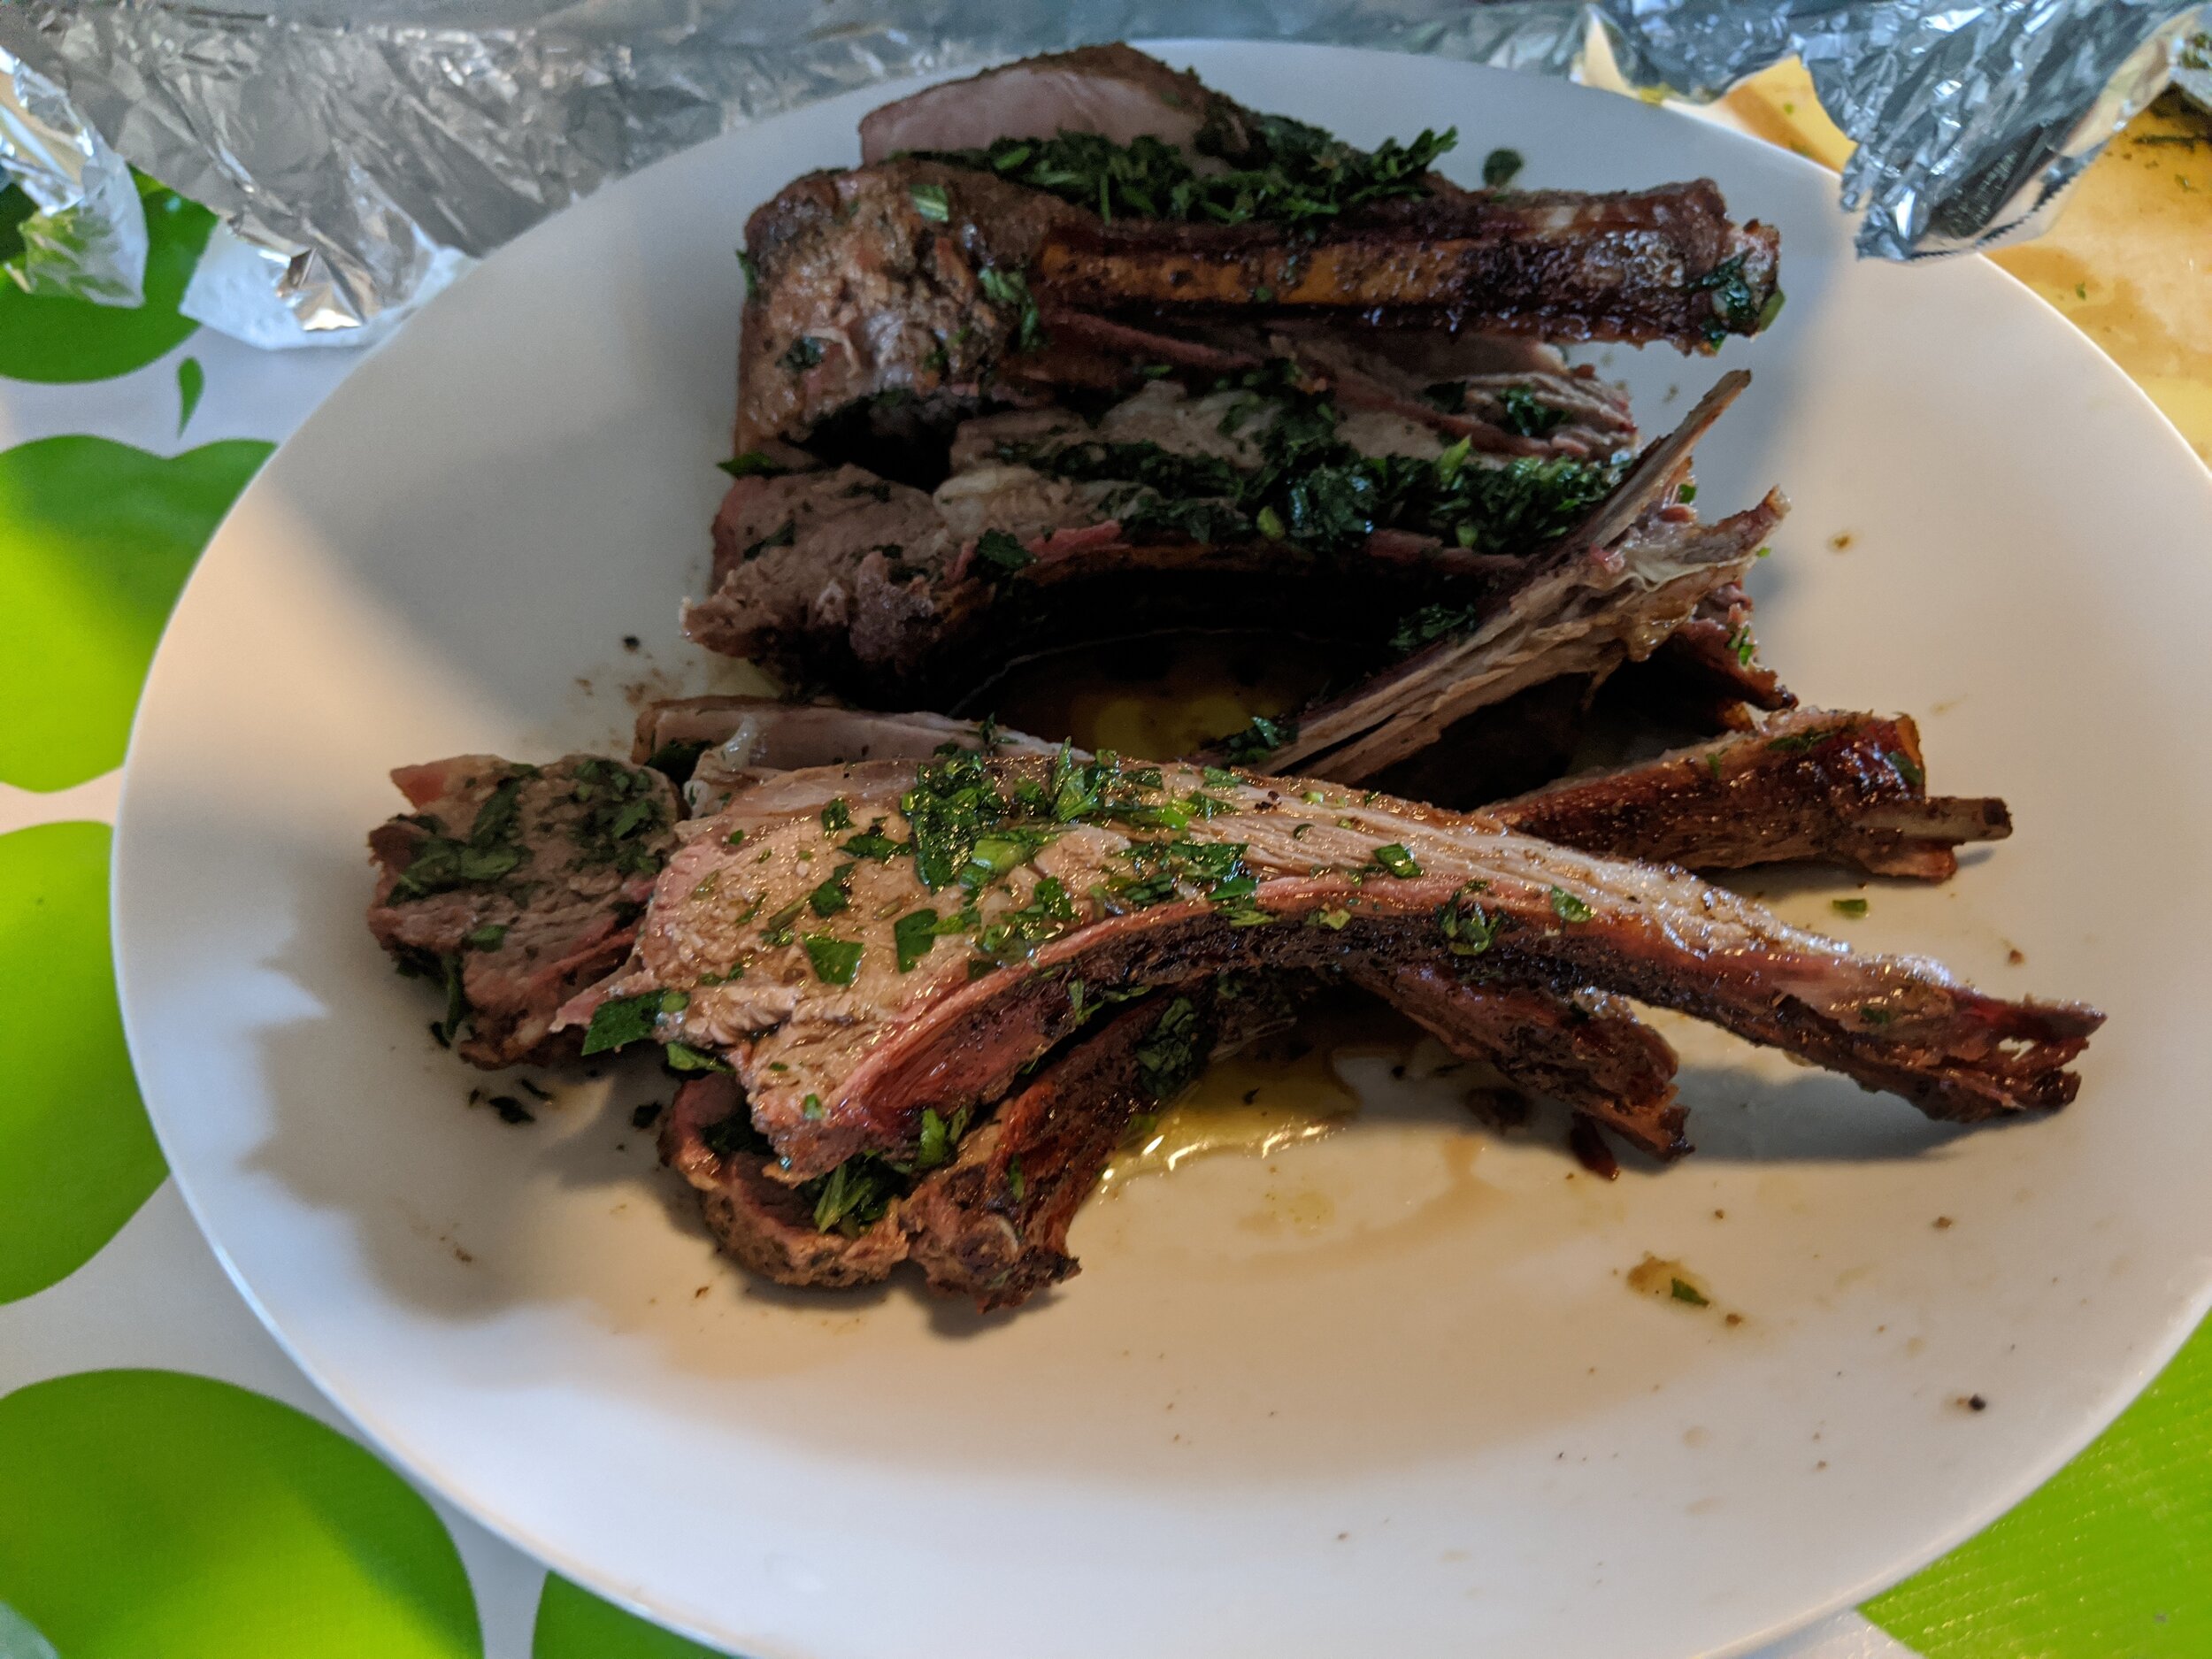
Searching for a specific blog post? Try here:

Beans and Rice with Smoked Ham Hock

Dry beans*

Smoked ham hock

Salt

Onion

Celery

Tomato paste

Paprika, Garlic powder, cumin, oregano, sage (or whatever you like)

Lard

A big heavy pot for beans

Rice

A rice-cooking vessel

Soak the dry beans in lots of (optionally, salted) water overnight. *I’m not a big fan of kidney beans, undercooked beans are pretty bad for you and kidney beans seem to take forever to cook. We tend to use small red beans or adzuki beans, which are a different genus but who cares, they look like beans and they taste like beans and they’re called beans, so they’re beans. You could use black beans or pinto beans or any kind of beans, even kidney beans if that’s your thing. Lighter-colored beans cooked with smoked ham hock are going to end up looking kind of dirty, which you may prefer to avoid or maybe you like the grunge look, I’m not judging you for that. Much.

Amounts depend on how much you want. A pound of beans will make a filling family dinner plus leftovers which you can freeze for later. For that amount of beans, probably around 1 large onion and half a bunch of celery would be good, but you could certainly add more onion and celery if you like.

Strain the beans and discard the soaking water.

Dice the onion and celery and sautee them in some homemade cooking lard. A lot of recipes call for bell pepper. Bell pepper is a height-of-summer vegetable. Beans and rice is a cold weather dish for us. We usually have some onions around and we usually have some celery in the garden. Perhaps in the Deep South bell peppers grow in winter, but I don’t think you can grow bell pepper in a Willamette Valley winter, so it doesn’t belong in the dish. Cook with what’s in season. (Canned pickled peppers are a great accompaniment to beans and rice, but unless they’ve been kept crisp which is hard to do, they’re probably best added at the table.)

Add some tomato paste for color and flavor, a few tablespoons is good. If I open one of those six ounce cans of tomato paste I’ll just use the whole thing rather than have a partial can sitting around waiting to be used.

Add the beans and water to cover them by at least an inch, then stir everything well to incorporate the tomato paste without burning it. Add in your smoked ham hocks. One hock is fine for flavor, but there is actually some meat on most smoked ham hocks, so you may want to use more than one and pull off that smoky ham hock meat at the end to mix into the final dish.

Stir in the spices. Paprika is a good idea, at least you can get some kind of red bell pepper flavor compounds this way. Garlic powder would also be good (when is garlic ever bad in a savory dish?) Other spices it depends what you like. We have several sage plants in the garden that seem to always have some leaves, and I’m testing a theory that if you want your kids to eat something, use pizza herbs (oregano).

Bring everything to a boil, then turn the heat down and simmer until the beans are soft and the ham hock is falling apart. If the water is evaporating too quickly, cover the pot, and you may have to top it up with some boiling water. The goal at the end is to not have bean soup but to have a creamy dish in which the bean starches have cooked out into the liquid. When it’s finished, remove the ham hocks and pull off any bits of meat left on them to add to the pot.

If the beans are getting soft and the mixture is too liquid, leave the lid off and turn up the heat a bit, then stir with a wooden spoon making sure to scrape the bottom and try to mash some of the beans against the side of the pot. As you stir and break up the beans their starch will thicken it.

The problem with making these in a slow cooker is that you can’t boil off extra liquid to thicken it, and slow cookers even on high heat probably aren’t quite hot enough to cook the beans thoroughly without taking a really, really long time. Making it in a heavy pot on the stove is probably best.

The beans probably won’t need extra salt after being cooked with smoky, salted ham hocks. Stir in a little ketchup or molasses or brown sugar and a splash of apple cider vinegar.

It’s probably a crime somewhere not to serve these with some kind of rice, cooked however you cook rice. Quinoa would be a lower-glycemic option, though I don’t know if eating lots of quinoa is better than eating just a little rice.

I think beans and rice needs to be eaten with lots of accompaniments so everyone can personalize their dish. Hot sauce, pickled peppers, fresh parsley or cilantro, celery leaves, fresh green onion, grated cheese, diced raw onion, sour cream, diced raw celery, crunchy bean sprouts…or whatever else you like to mix in.

Homemade Stock

You need bones, a large pot with a lid, water, a strainer, and (optionally) vinegar.

Do not use raw bones for stock. Roast, grill, or pan-fry the bones until they brown and begin to have black spots on them. If you use bones left over from a roast, these are already roasted and are fine to use.

Put the bones in a large pot. Cover with water and bring to a boil. Drain. Rinse the gunk off the bones and out of the pot.

Put the bones back in the pot. Cover with water. Optionally, add a splash of vinegar. Acidity technically helps to release minerals from the bones. If you use enough to be really measurable your stock will taste sour, but a splash (half a cup or less) isn’t going to hurt and might help.

Unless you are making stock for a specific purpose, there is no point in seasoning it at all. Keep it plain and then you can season it however you like, when you use it.

Cover the pot and simmer on extremely low how heat for as long as you can stand it. At least 24 hours. 72 hours would not be too long. Strain the stock into containers for storage.

We’ve found that freezing stock in glass containers, even with a lot of extra space for expansion, doesn’t work well and the glass frequently cracks. You could of course try pressure-canning in canning jars. We normally let the stock cool to room temperature and store it in freezer-safe bags. If you use this method, make sure you put the bag in a bowl or pot when defrosting. Freezer safe bags that are leak-proof when they go into the freezer have a habit of leaking when you take them out and defrost them.

Ham hocks and beans

hamhocksandbeans.JPG

2 tablespoons lard or other cooking fat

2 - 4 smoked ham hocks

a few tablespoons apple cider vinegar

1 pound dry beans such as black beans

1 onion, diced

1 bunch celery, sliced

3 carrots, sliced

minced garlic (as much as you like it)

several large pinches of ground cumin

several large pinches of dry oregano

1/4 cup molasses

2 bay leaves

chicken stock (optional) or salted water

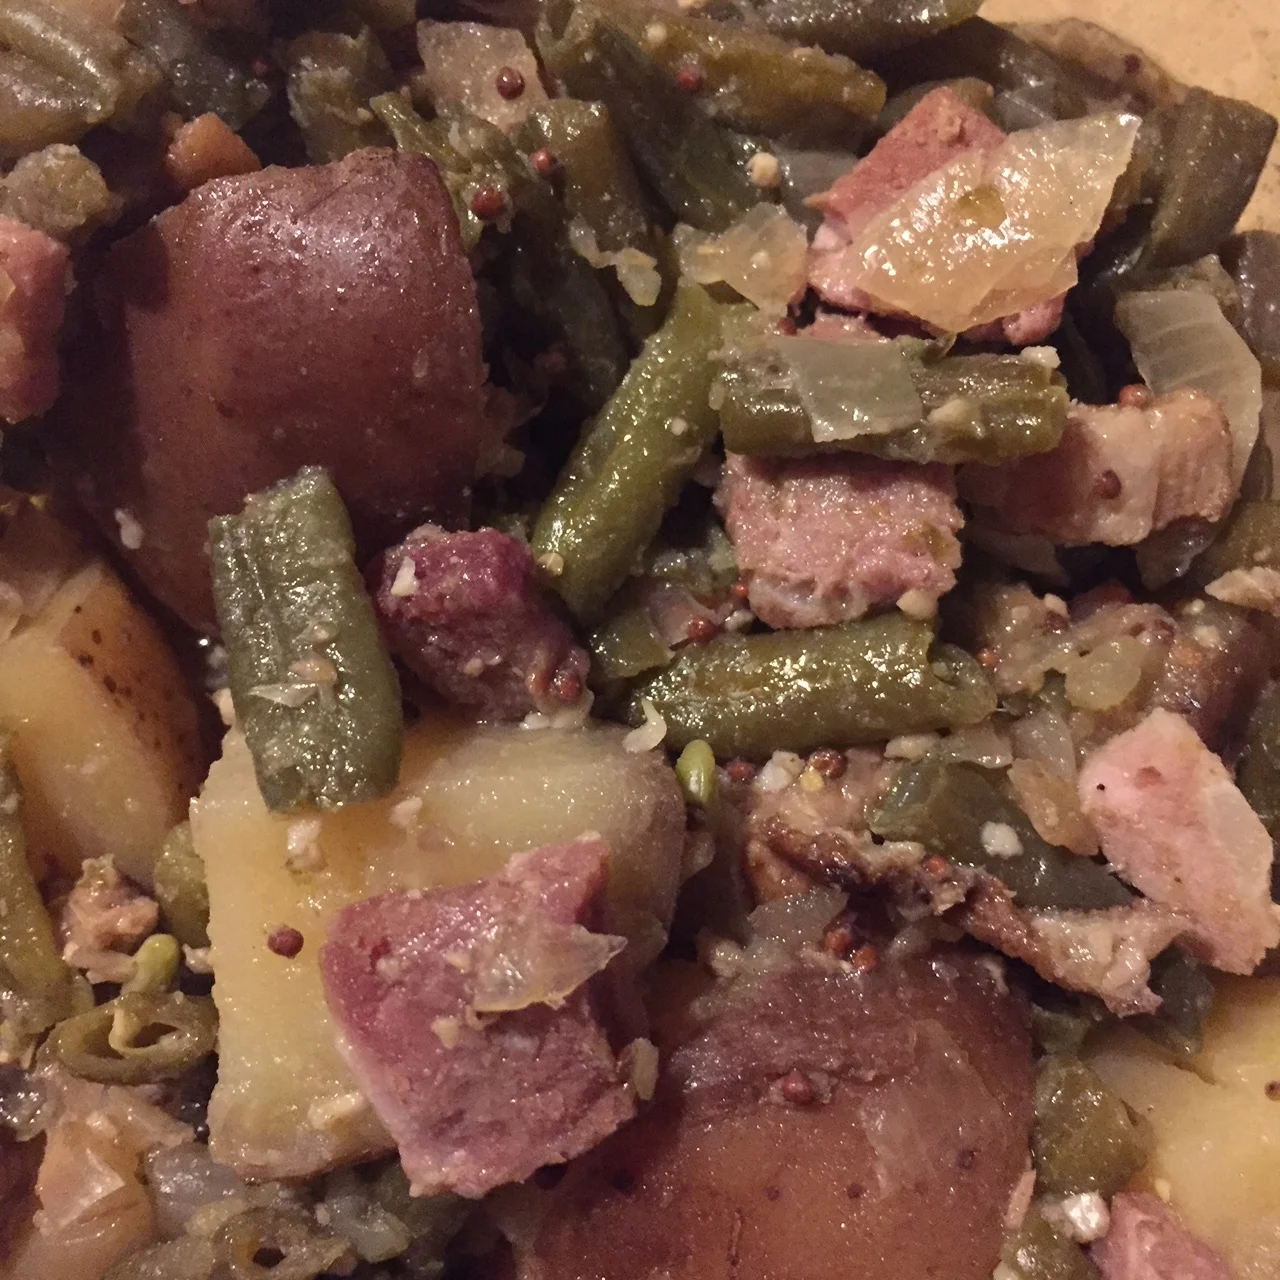
Thanks to Justina’s photography we have a picture this time!

Smoked ham hocks are a great way to add flavor to vegetable-based soups and stews, especially beans. For some people this is very much a traditional New Years meal. While it takes a long time to cook, most of that is just letting it sit on the stove on very low heat, so it’s a pretty low-effort meal for what you get, which is delicious.

Soak the beans overnight in a large pot full of water and defrost the ham hocks.

Start cooking by mid-morning or at the lastest noon in order to have this ready for dinner. Remove the beans from the pot and drain them. Heat lard or another high-heat cooking fat in the pot over medium-high heat. Add the ham hocks and sear them on all sides. Remove ham hocks.

Add diced onion and cook until translucent. Add garlic and celery and continue to cook until garlic begins to brown.

Add carrots and any other vegetables and cook for another minute or so. Most bean soup recipes call for things like green pepper. This is very much a winter-time dish, and green peppers are not in season. Parsnips could be a good addition, or replacement for the carrots. Wintertime greens like kale would fit well. Avoid starchy vegetables like winter squash, as the beans will have enough starch on their own.

Add the beans to the pot. Add chicken stock or water and a pinch or so of salt. Add enough liquid to cover the beans and no more. Add the vinegar. Add the cumin and oregano. If you feel the need to measure, something like a teaspoon or two of each. Add the molasses. Add the bay leaves. Stir everything, then add the ham hocks so they are covered as much as possible by the liquid.

Bring the soup to a boil and then turn down to a very low simmer and…wait. Stir the beans and flip the ham hocks every couple hours. It will likely take several hours for the beans to be tender, and you are also looking to reduce and thicken the broth.

Of course this recipe would work just fine in a crock pot or slow cooker.

When the meat starts pulling off the ham hocks, remove them from the pot. Pull the meat and fat off the bones, discard the bones, and shred the meat and fat with two forks, then return it to the pot of beans and stir. Continue to cook on a low simmer. You can basically keep simmering until you want to eat; the beans will eventually get mushy, but this doesn’t make them taste bad and will only happen after a long time. Everything will just get better the longer it cooks together, and the broth will be better the more it reduces. As the beans break down and release starch into the cooking liquid it becomes creamy and delicious.

A crusty sourdough or rye bread would be good to serve with the soup, to soak up the very flavorful and nutritious cooking liquid.

Slow cooking meat outdoors (barbecue/smoking without a smoker)

IMG_20200412_172037.jpg

Cooking with Convection

We use a Pit Barrel Cooker. We don’t know them or have any kind of business relationship with them, it just works really well. Of course, if you have the time and materials, you could make a barrel cooker yourself.

Alternatively, you can set up a charcoal grill for indirect heat. The kettle-style grills are best for this,

but you can do it with pretty much any style of charcoal grill. That’s the way we did it for years. It takes a little more work and isn’t as easy and fool proof, but you can do it!

  1. You’re going to want to use charcoal briquettes. It’s going to be very difficult (impossible) to set up a regular grill for barbecue/smoking while using lump charcoal.

  2. The Snake/Ouroboros. Around the inside perimeter of the grill make a line of briquettes just touching each other. This is why you have to use briquettes, so they are uniform size. You’re going to light these in one spot and then let the flame slowly travel around the circle. With only a few coals lit at a time, you’ll get an approximation of constant, low heat.

  3. Put a pan of water in the middle of the “snake”. This will act as a heat sink to further ensure a relatively constant heating temperature.

  4. Put your meat on the cooking grill directly in the middle of your briquette snake. Ideally it won’t also be above your pan of water — the aerosolized drippings hitting the hot metal of your grill help provide flavor — but if you have to, it’s not the end of the world.

  5. Adjust your vents so that the air (and thus smoke) flows across your meat. Remember hot air rises. If you just have a top and bottom vent, close up the top vent and barely prop open one side of the grill. Air will come up through the bottom vent, but the smoke will be unable to go out the top, so the smoke will surround your piece of meat until it finally leaks out the side of the grill. Keep in mind that air => fire so if your coals are burning too hot, close your intake vent (on the bottom) a bit more! (If your grill doesn’t have adjustable air vents you should throw it out.)

  6. You can add flavor with wood chips. Soak chips of some suitable wood. such as a fruit wood, in water, then make a little foil boat and send your wood chips to Valhalla in the fiery blaze. This prevents them from burning up right away, so you get the benefit of the wood smoke longer. You’ll want to do this at the beginning of the cook, as that’s when the most smoke flavor will penetrate the meat. You can also smoke with flavors besides wood, such as tea or dried herbs.

  7. Get a probe thermometer. For pulled pork you want to slowly bring the internal temperature of the roast to around 195 to 205 degrees F. Other kinds of meat require a different temperature.

  8. “Barbecue” is slow cooking until the meat is pull-apart-tender. “Grilling” is for small pieces of meat on skewers, or fish, or vegetables. Grilling large cuts of meat just dries them out. Steakhouses never grill their meat. You should stop too.

Finishing in the oven is okay

Slow-barbecue-smoking a large piece of meat on a charcoal grill can pose a lot of problems, but as long as you keep the heat low and adjust the ventilation properly, none of these problems really matter. Do not let perfect become the enemy of the good. It’s possible that your coals will go out before the meat is done. Another frequent problem is “stall”: after a few hours the meat gets to within 20 or 30 degrees of being fall-apart-tender done, and then the temperature increase stalls (because thermodynamics). If you encounter these or any other problems, just remove the meat from the grill, wrap it in foil, and finish it in the oven. The first few hours are the most important, because that’s when most of your smoky barbecue flavor is able to penetrate the meat. Finishing it in the oven after a few hours smoking on the grill will be almost as good as keeping it in the smoker the whole time. The key is to not rush. Keep the heat low, in the range of 225F or so.

"I don't have time to cook"

"I don't have time to cook"

"I don't have time to cook."  How about less than 20 minutes of prep time to make a complete meal from scratch?  Using 3 basic ingredients plus some extras you probably already have in your cupboard or fridge.

Read More